Thanks for stopping by the new Branch website!

As you can imagine, a shiny new look doesn’t magically appear. I wish it was as straightforward as flipping a switch but there was a solid year of concepting, consulting, shooting, retouching, compositing, designing and developing that happened behind the scenes.
Though I’ve been running Branch for over four years and designing professionally for a decade, the depth of this process was all new to me. Part of my personal interest in fully immersing myself in it was so that I could experience it firsthand and share it with those of you who are curious about how the “pieces” of the creative process come together to form a cohesive outcome.
I know that without a clear strategy in place for your brand look, getting from step A to B can feel overwhelming. Where should you start? Who should you work with? And perhaps most dauntingly, what should you expect?
In this series, I’ll explain the exact steps I went through to get the creative outcome you see here plus share more of the Branch backstory (if you’re new to these parts, hello and welcome!) in an effort to provide some transparency on how I knew it was time to step things up.
Let’s dig into the 5 acts of how the concept transpired.
ACT ONE: THE BACKSTORY
Back in 2013, I launched Branch after freelancing on the side of my corporate brand design jobs. Branch had slowly evolved from a side hustle to a full-fledged career path.

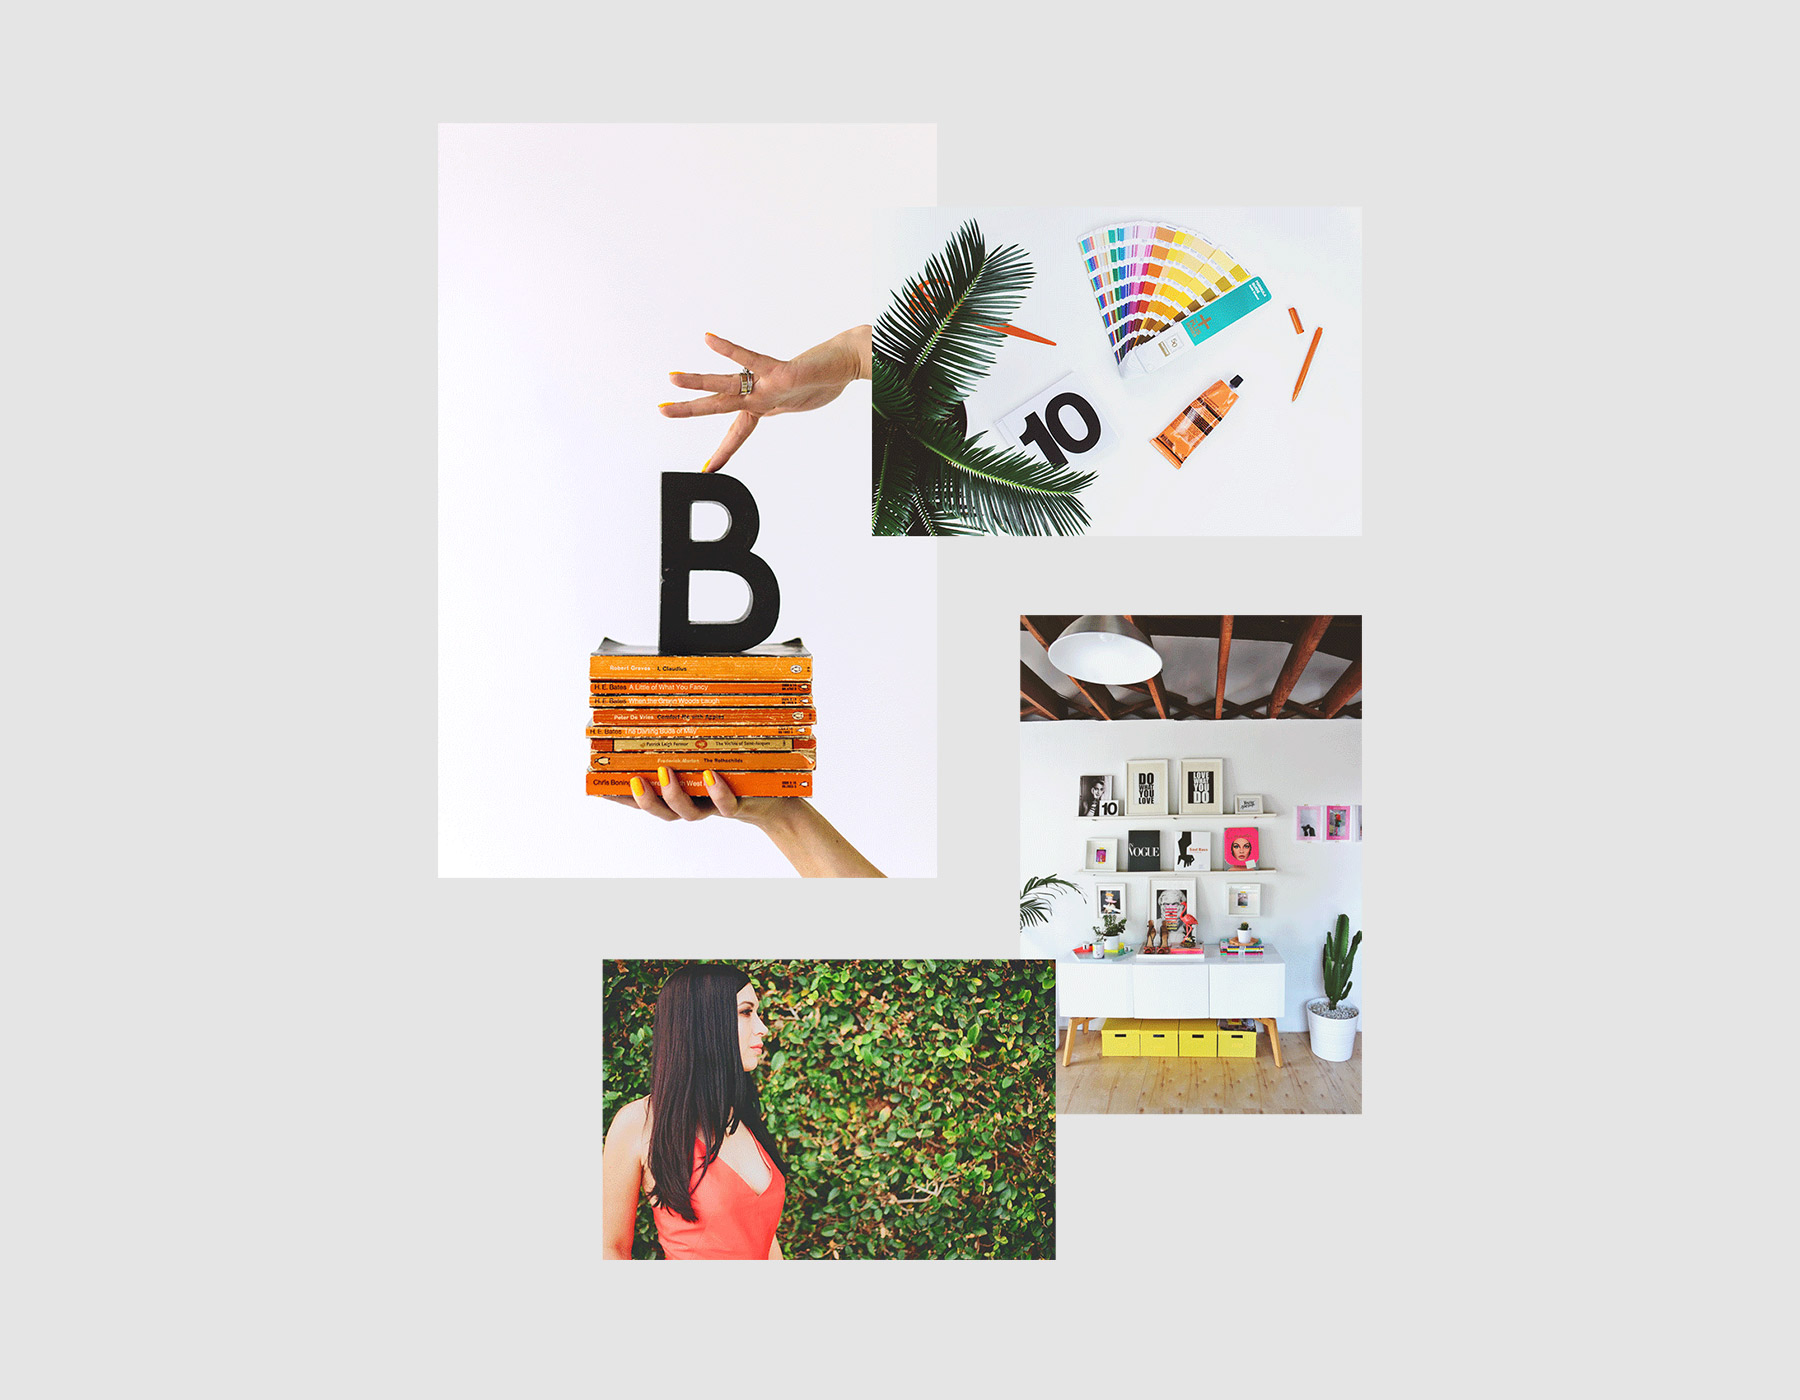
I had been sharing my design projects on my personal blog, Nubby Twiglet for years and hit a point where I couldn’t grow any further on my own. The “twig” had grown into a “branch” and the “me” grew into a “we”. With the birth of Branch, I’d envisioned a citrus-soaked, juicy color palette anchored with modern gray and white accents, botanical elements (our tagline is Grow Your Brand To New Heights) and a sleek brand design that didn’t overpower our client work.
The original Branch site went up very quickly — I had just 10 days to form a viable business due to timing constraints from the date I left my full-time job to the time I would be attending a massive graphic design networking event. Because of the rushed timeline, I didn’t have time to question the details — I needed to be up and running or risk a massive loss of momentum.
The site held up okay and brought in enough business during the first two years for Branch to evolve from a spare room to a dedicated office space but it lacked the polish and clarity that I wanted. After another handful of tweaks in 2015, the site looked and functioned much better but still didn’t feel 100% on-brand.
By the time 2017 came around, I didn’t even want to look at our website, which is embarrassing to admit. When your digital space doesn’t feel like an authentic reflection of your brand, it becomes increasingly difficult to engage with it! I knew it was time to step it up — there’d been a massive evolution within Branch since its founding and I was ready to invest in our next phase of business.

Lesson learned: As your brand grows, evolution is necessary. Even though it can be scary, you have to believe in your brand enough to invest in it if you want to reach the next level. You are worth it and your brand is worth it. If you’re confident with the image you present to the world, it shines through.
ACT TWO: THE CONCEPT
As I began exploring our new website design, I was quickly reminded that a site is comprised of 3 separate content buckets: 1. The design (branding and website layout), 2. the copy and 3. the photography.

The first two buckets were solid but I struggled with the third. The photos I had on-hand from past sessions were great and I loved each one on their own but because they were shot at different times over the course of many years, there wasn’t a cohesive story, lighting or props.
I knew who to call for some much needed clarity: Sarah of Public Persona. It was time to go all in.
I hired Sarah for creative consultation and photoshoot production because I knew there was more to the Branch story than I was seeing — we needed a special twist.
I knew who we served, I knew what we stood for and I had a clear idea of the image we wanted to project BUT it was missing that special something. I was too caught up in the day-to-day and I needed a creative co-pilot to help me bounce ideas and come up with a catalyst for the Branch brand evolution.
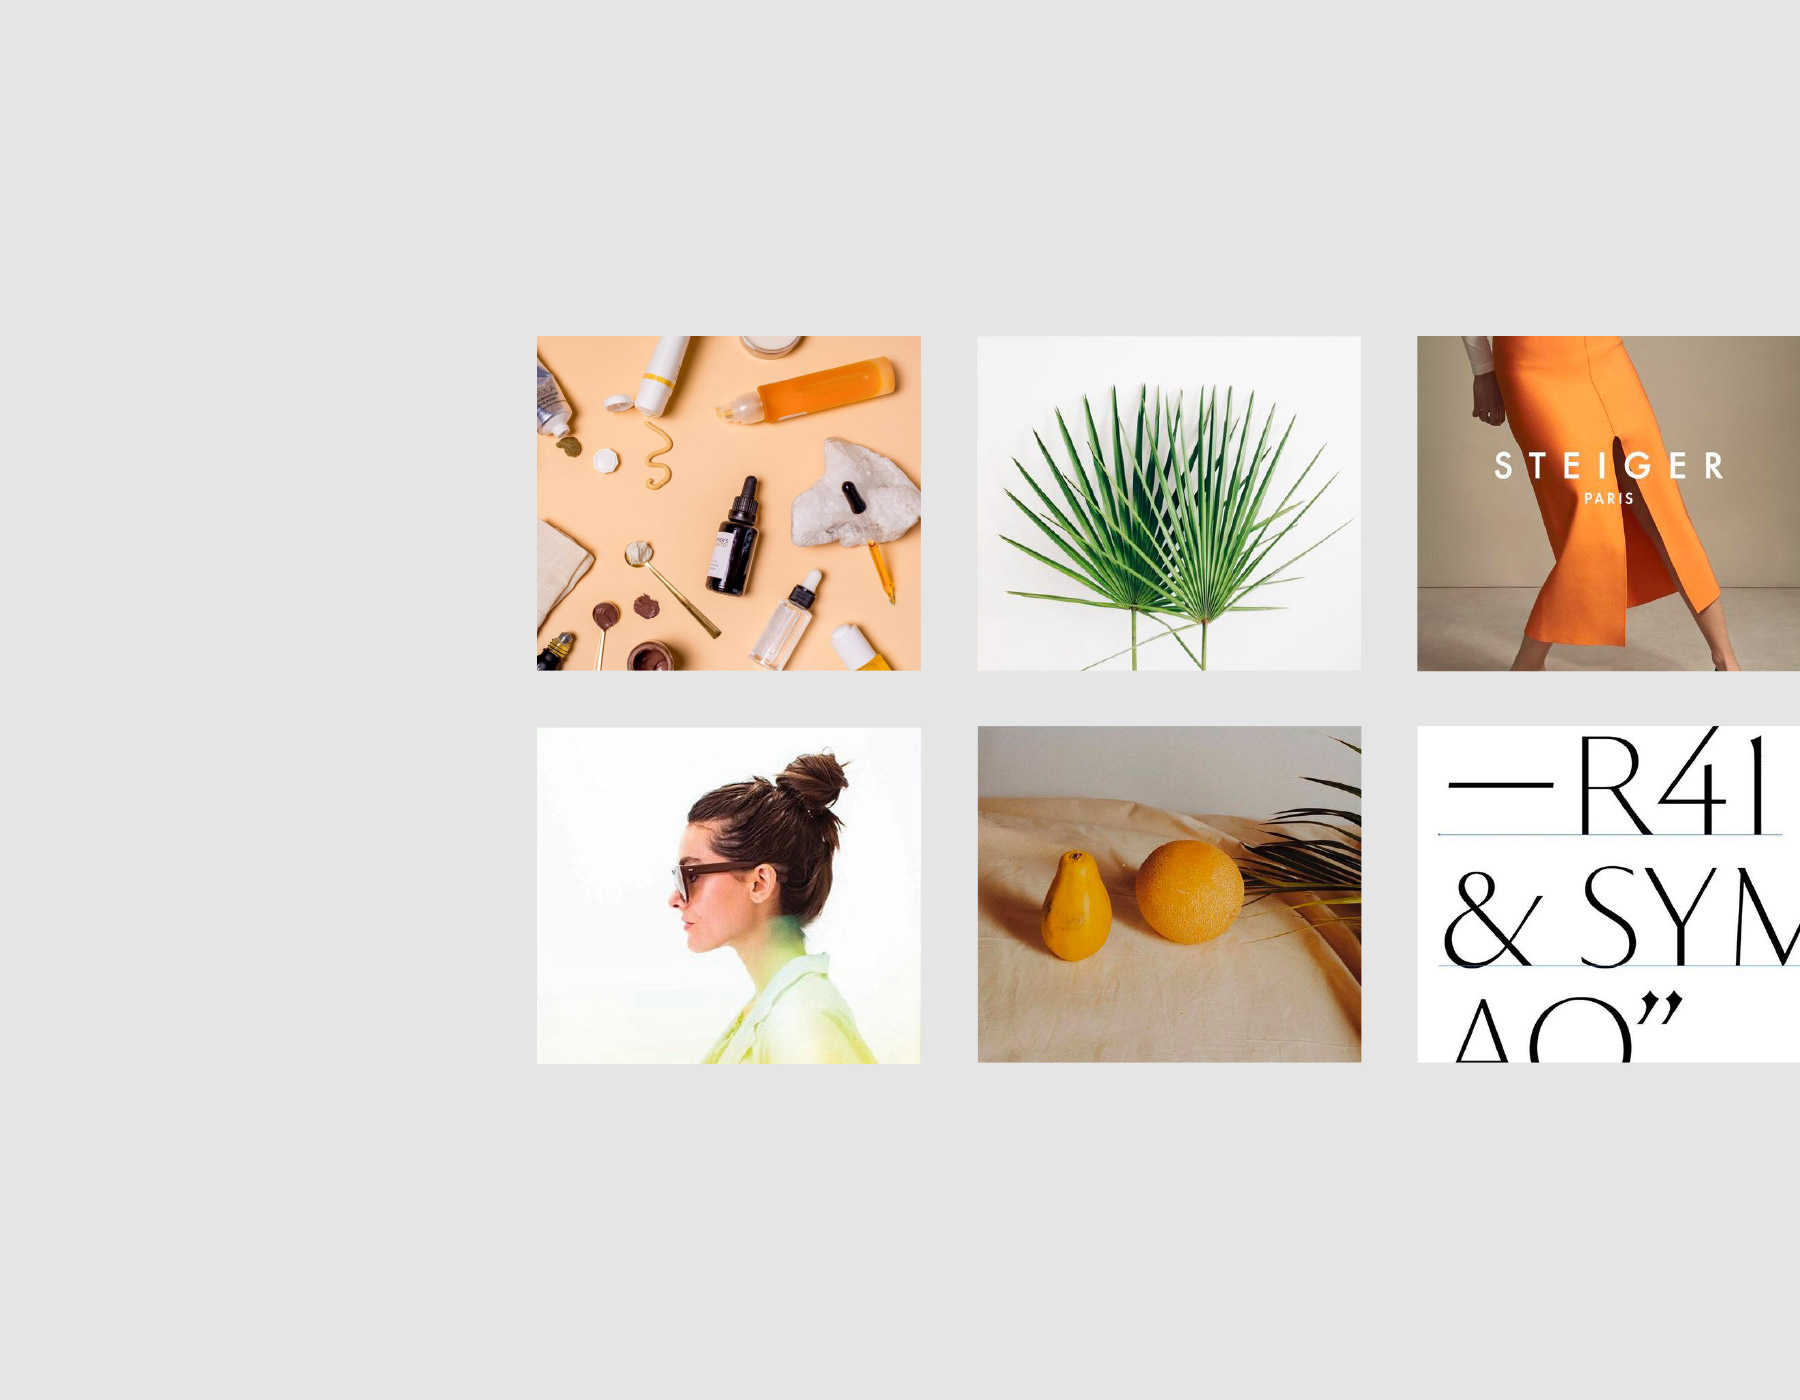
Sarah and I did two consulting sessions together. During the first, we talked about the key visuals of Branch and what they stood for. Trees stood growth and a visual representation of the word branch while the citrus fruit and color palette represented vibrant, juicy design.
From this brief chat, Sarah got to work. “What about designer fruit? All the design work you produce is custom. You help clients authentically grow their brands through design. Why don’t we invent your very own hybrid of fruit?”
My eyes lit up, my mind raced but my next question was simply…“How?”
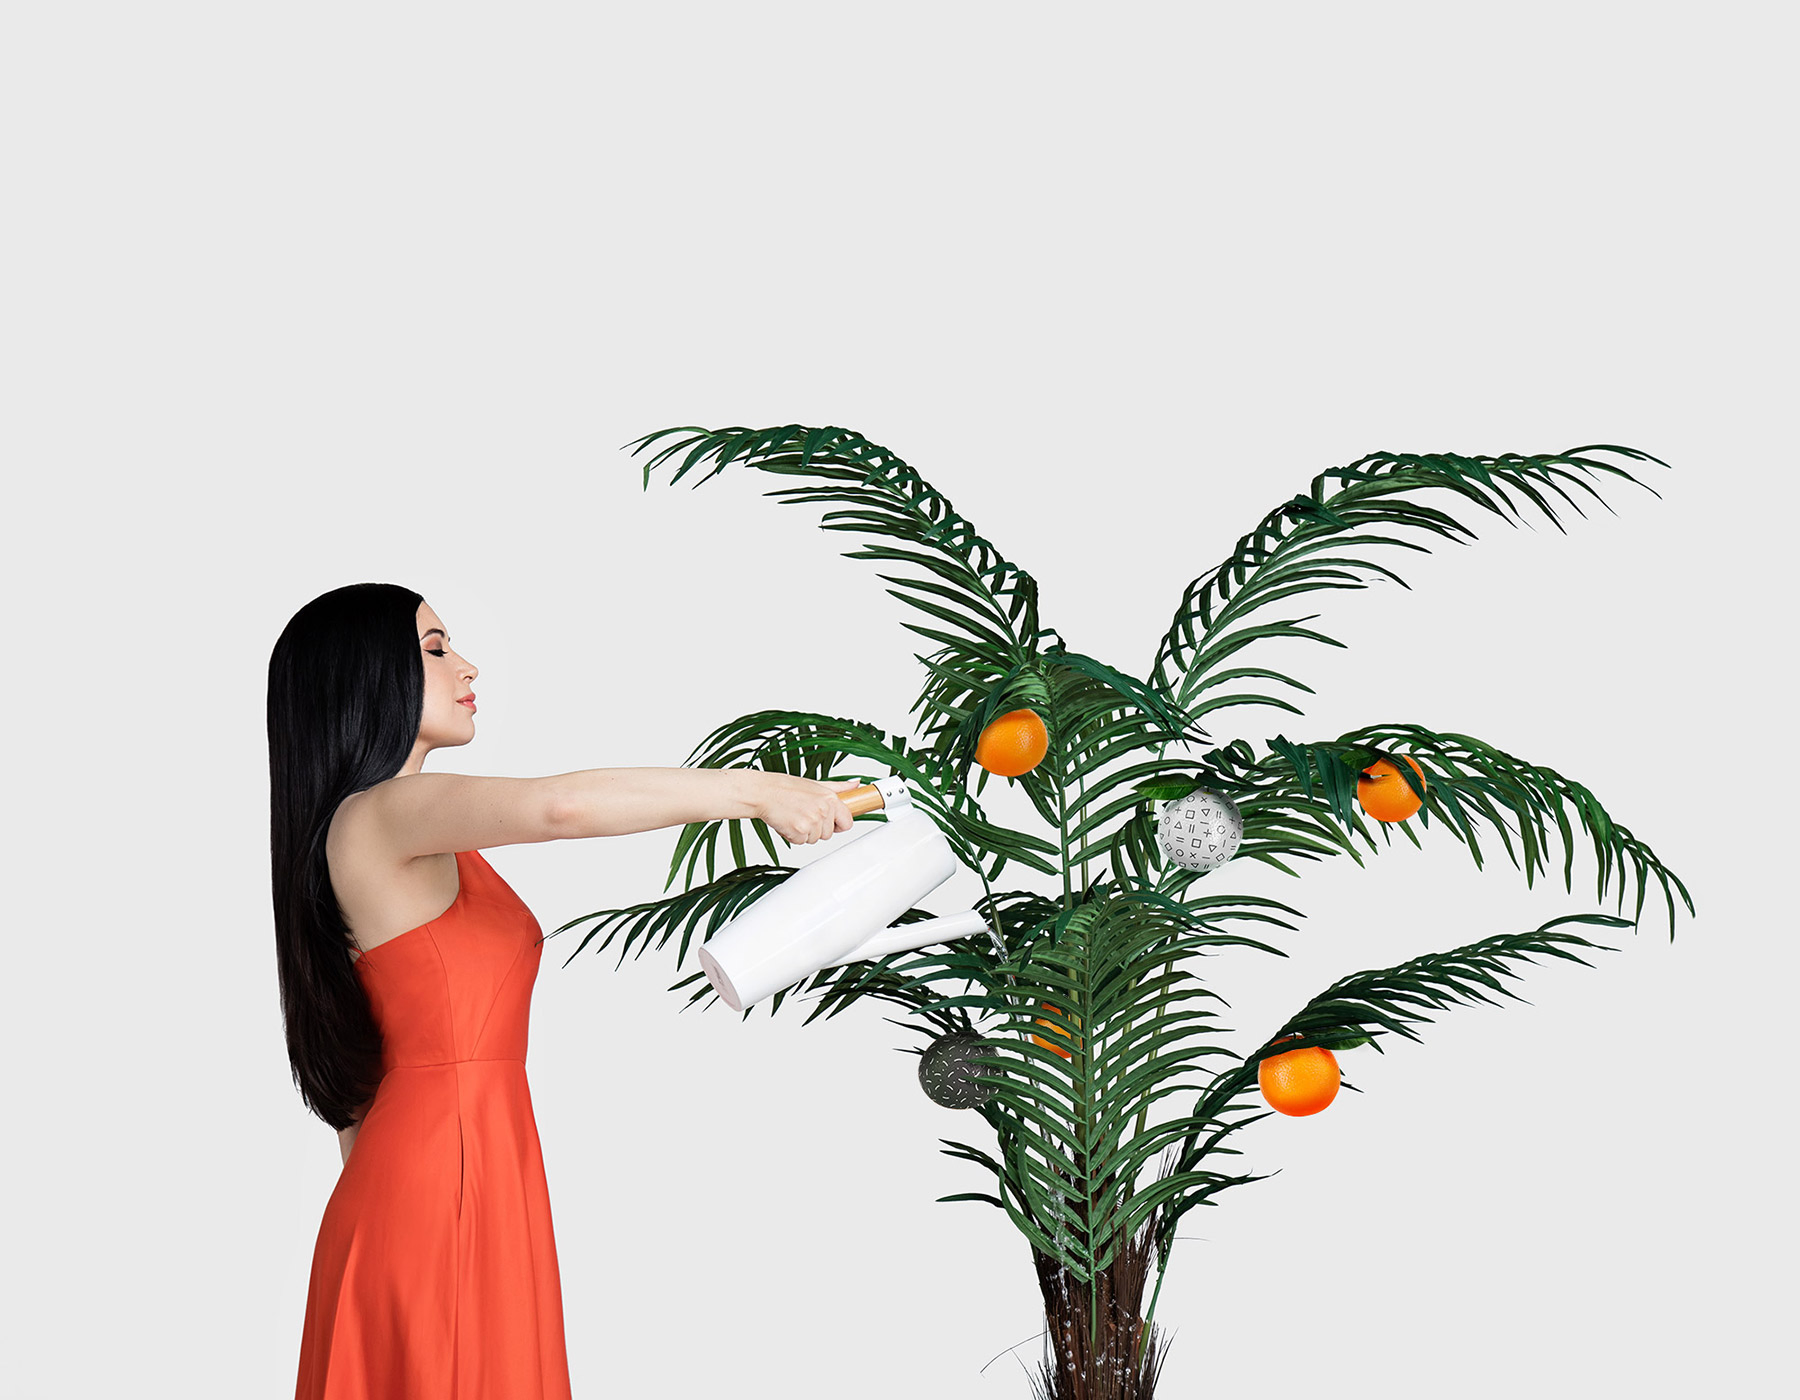
She explained that we could center a photo shoot around me watering my own version of a fruit tree sprouting with custom patterned fruit never before seen in nature.
I was intrigued.
This “Branch fruit” would represent each project that we produced in the studio: one-of-a-kind, bold and exciting.

Lesson learned: A general concept can be elevated with one unique twist. If you feel stuck, hire someone that can help you see the bigger picture.

ACT THREE: THE SHOT LIST
Once the general concept was in place, it was time to create a shot list. Sarah and I did another consulting session and pulled together the key photos I would need. I later learned that this was one of the most important steps of the process and where I’d gotten stuck with other photographers in the past because I wasn’t crystal clear about what I wanted.

As a creative, I had a million ideas but what Sarah taught me is that there’s no point of taking a cool photo just for the sake of it! Every single photo on your website needs to serve a purpose, otherwise it’s pointless.
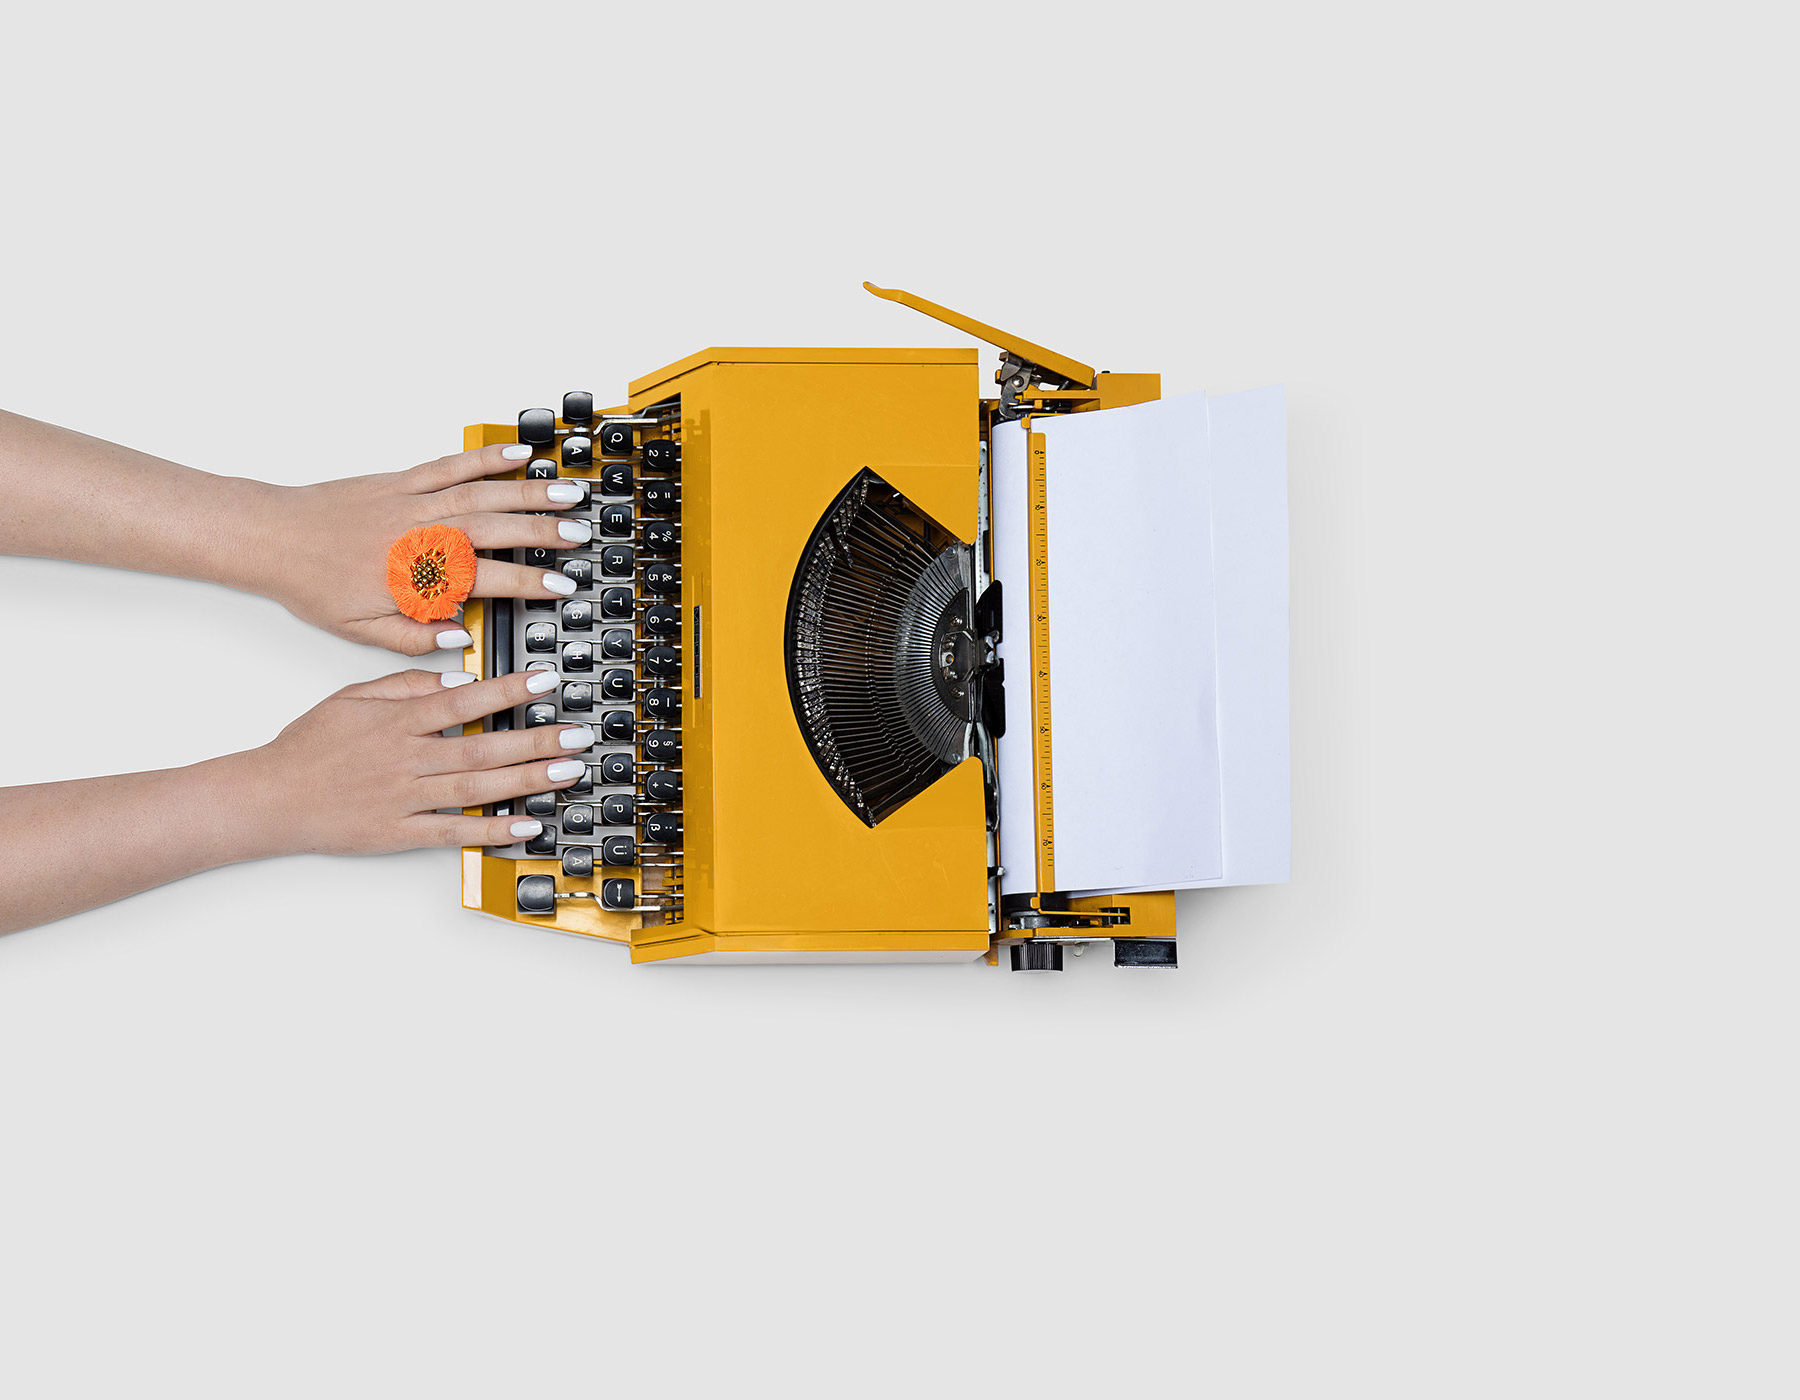
Example: Typing Hands. A big goal of mine was to step up the Branch mailing list and I wanted a dedicated image to use where I mentioned it. I could use a computer keyboard or an iPad but that felt a bit expected. Sarah and I settled on a vintage typewriter — it was way more interesting and came in fun colors. I also wanted a human touch by having my hands in the shot.
We tracked down an citrus-hued typewriter on Etsy, settled on a white manicure that popped against the black keys and as the finishing touch, I found an eccentric ring to add personality.

Lesson learned: Even the smallest details matter. The color of your manicure DOES matter. The emotion you’re conveying DOES matter. If anything is off, you’re not going to get what you’re expecting out of a shot. Investing time into a shot list can be agonizing and annoying but preparation is everything.
ACT FOUR: THE PROPS
I briefly talked about props above but I want to go deeper since these key pieces are what help you get into character. Once Sarah and I had meticulously mapped out the shots I needed for the website and assigned the props to each one, it was time to actually track down those props.

We first gathered a visual collection of ideas in Pinterest as a way to get our ideas in one place. This was a great way to bounce ideas off one another before I invested in the props. I also pinned some past photos I’d taken for wardrobe inspiration (note: that orange dress ended up making its way into the Branch header shot!
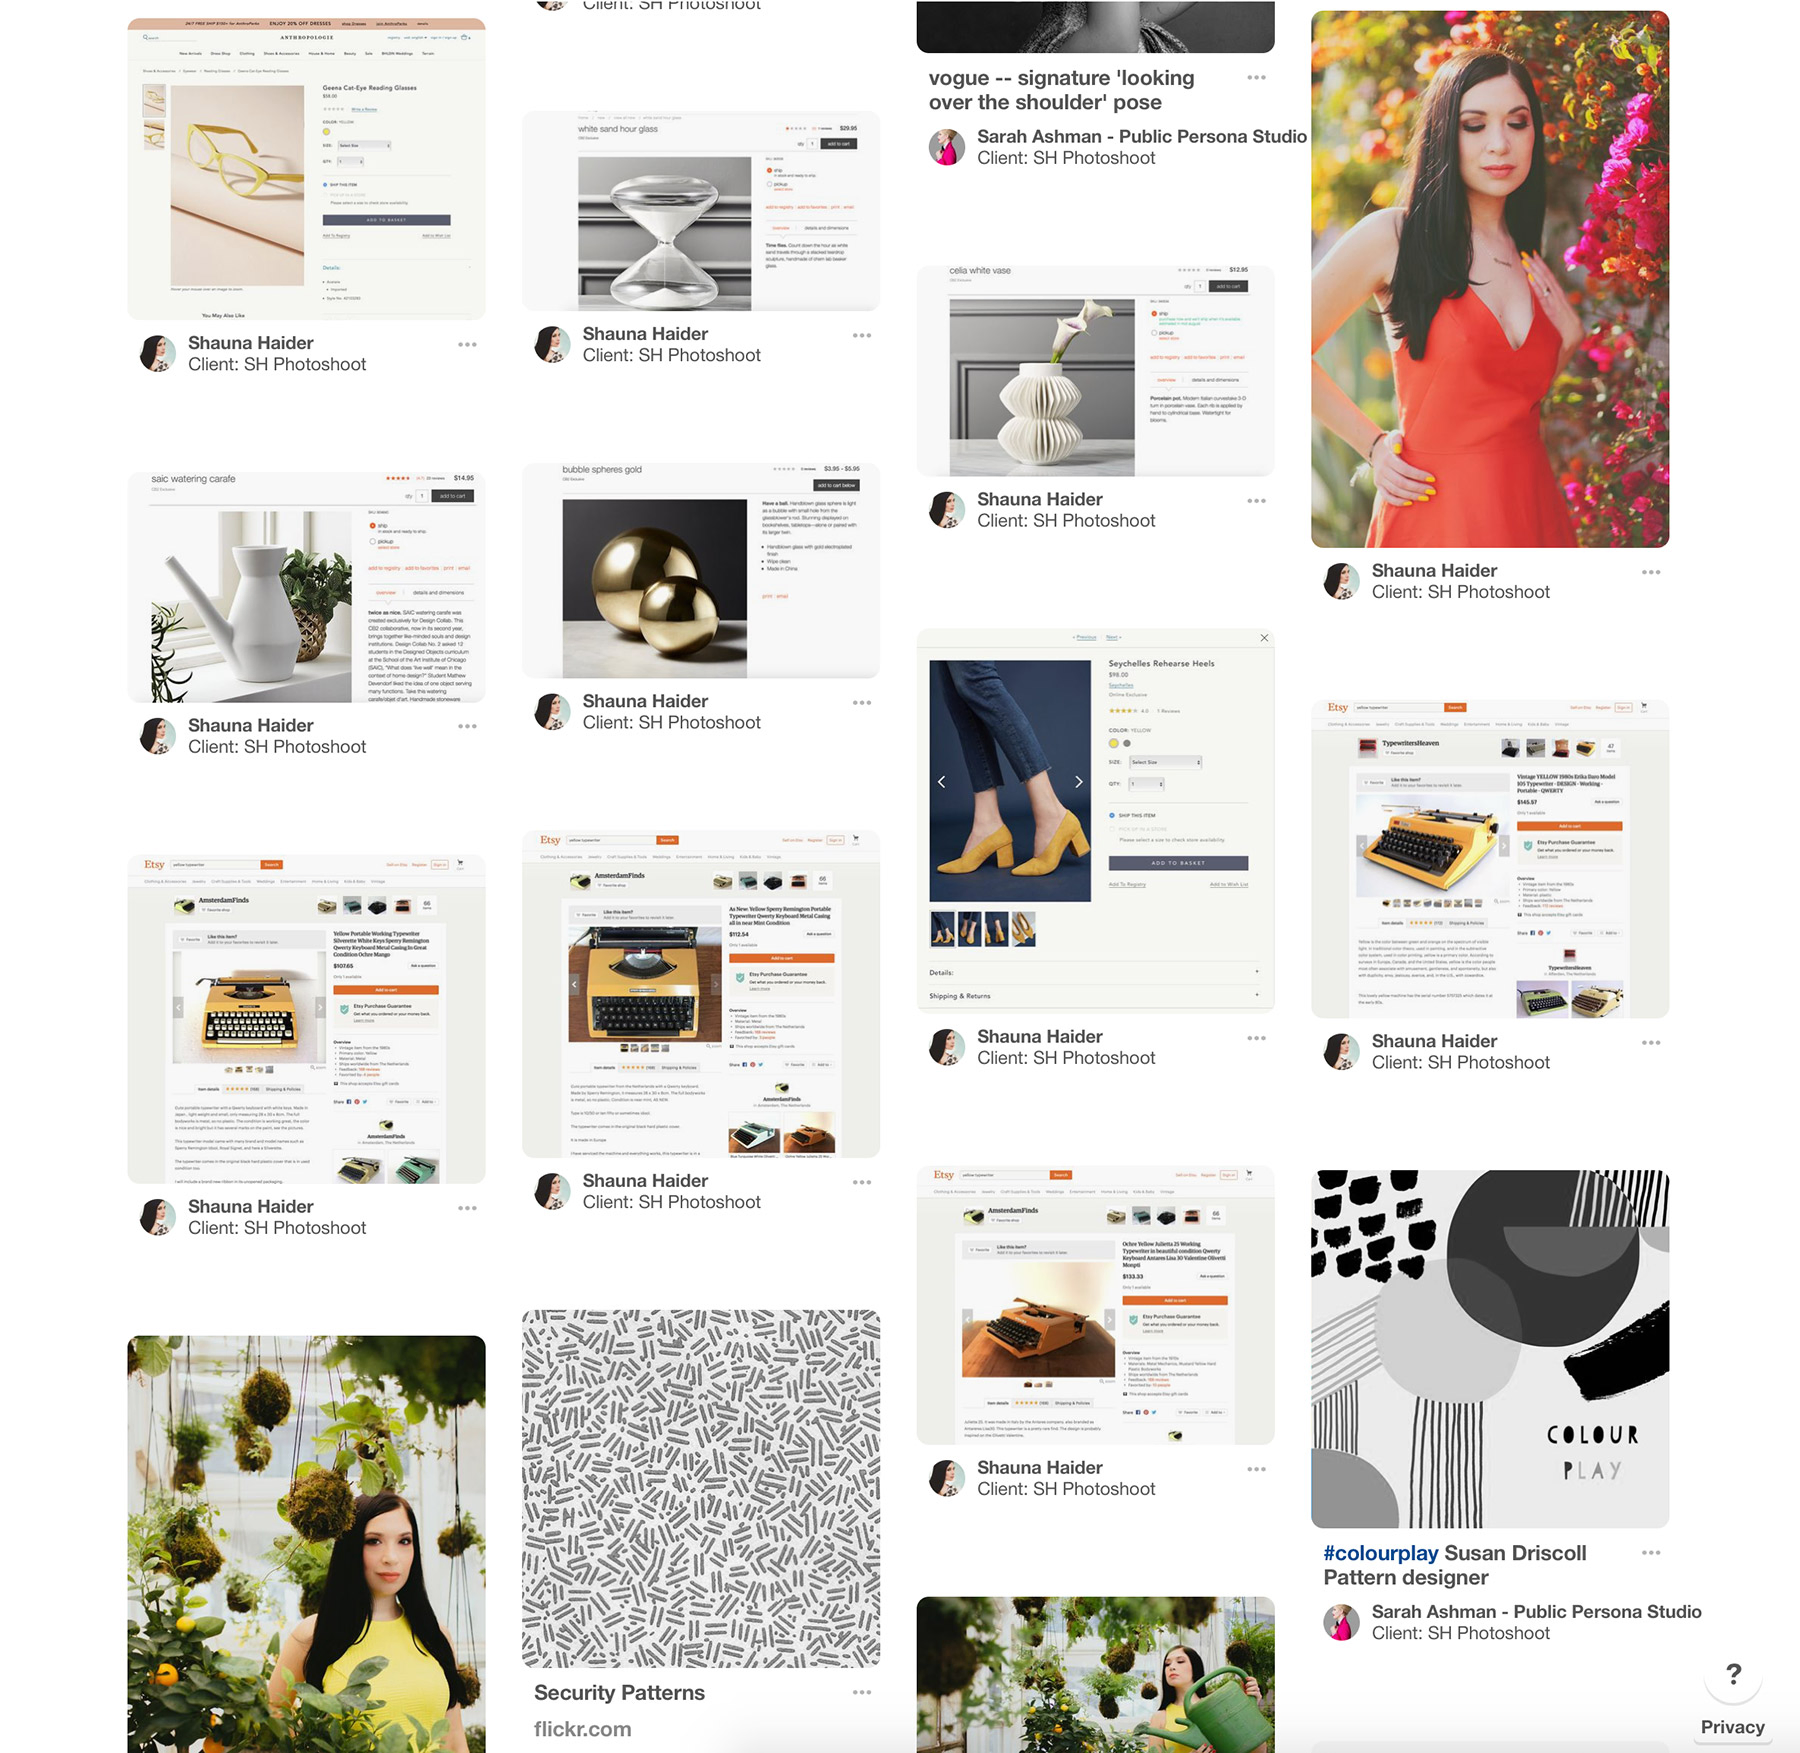
Some sourcing came easily, like the vintage typewriter which I quickly found on Etsy. Some props were much more difficult.
Wardrobe plays an important part in setting the scene and boosting confidence. I knew I wanted to shoot 2 looks across the photos to get a bit more variety in the images.
After searching through my wardrobe, I realized I already had one on-brand dress but I never wore it because the fit was off. After an investment in alterations, it felt like a custom piece of clothing at a fraction of the cost of buying another dress.
The second look took some major deep diving. I looked everywhere from The Real Real (great for gently used designer clothing), Anthropologie (their dress selection is always solid), Asos (on-trend and affordable for pieces you may only wear a few times), Rent The Runway (I love them but shied away because I knew I would need to alter the clothing to fit perfectly) and finally settled on a dress from Shopbop (it’s easy to search by color which is helpful if your brand has a distinct palette).
Once I had the wardrobe together, I catalogued the props I already owned (brass pen, color swatches, etc.) and tracked down the rest.
The final step was finding a suitable palm tree we planned on using in the the Branch website header. This hero image was probably the most important of the shoot and it got altered at the last minute.
The week before my shoot, a massive hurricane hit Florida and as Sarah called around to local florists, they were sold out – shipments from Florida were on hold. At the last minute, Sarah had a genius idea and sent over a link to a faux palm tree on Amazon. I overnighted a 5 foot tall palm tree to her house and it arrived just in time. If we hadn’t had the shot list to review, this key piece could have easily fell through the cracks.

Lesson learned: Prep, prep, prep! Always review your shot list the week before your shoot. Double and triple check that you have everything on-hand. Try on every single look to make sure it fits perfectly. Book clothing alterations, a hair appointment, manicure and anything else that will help you feel your most confident on set.
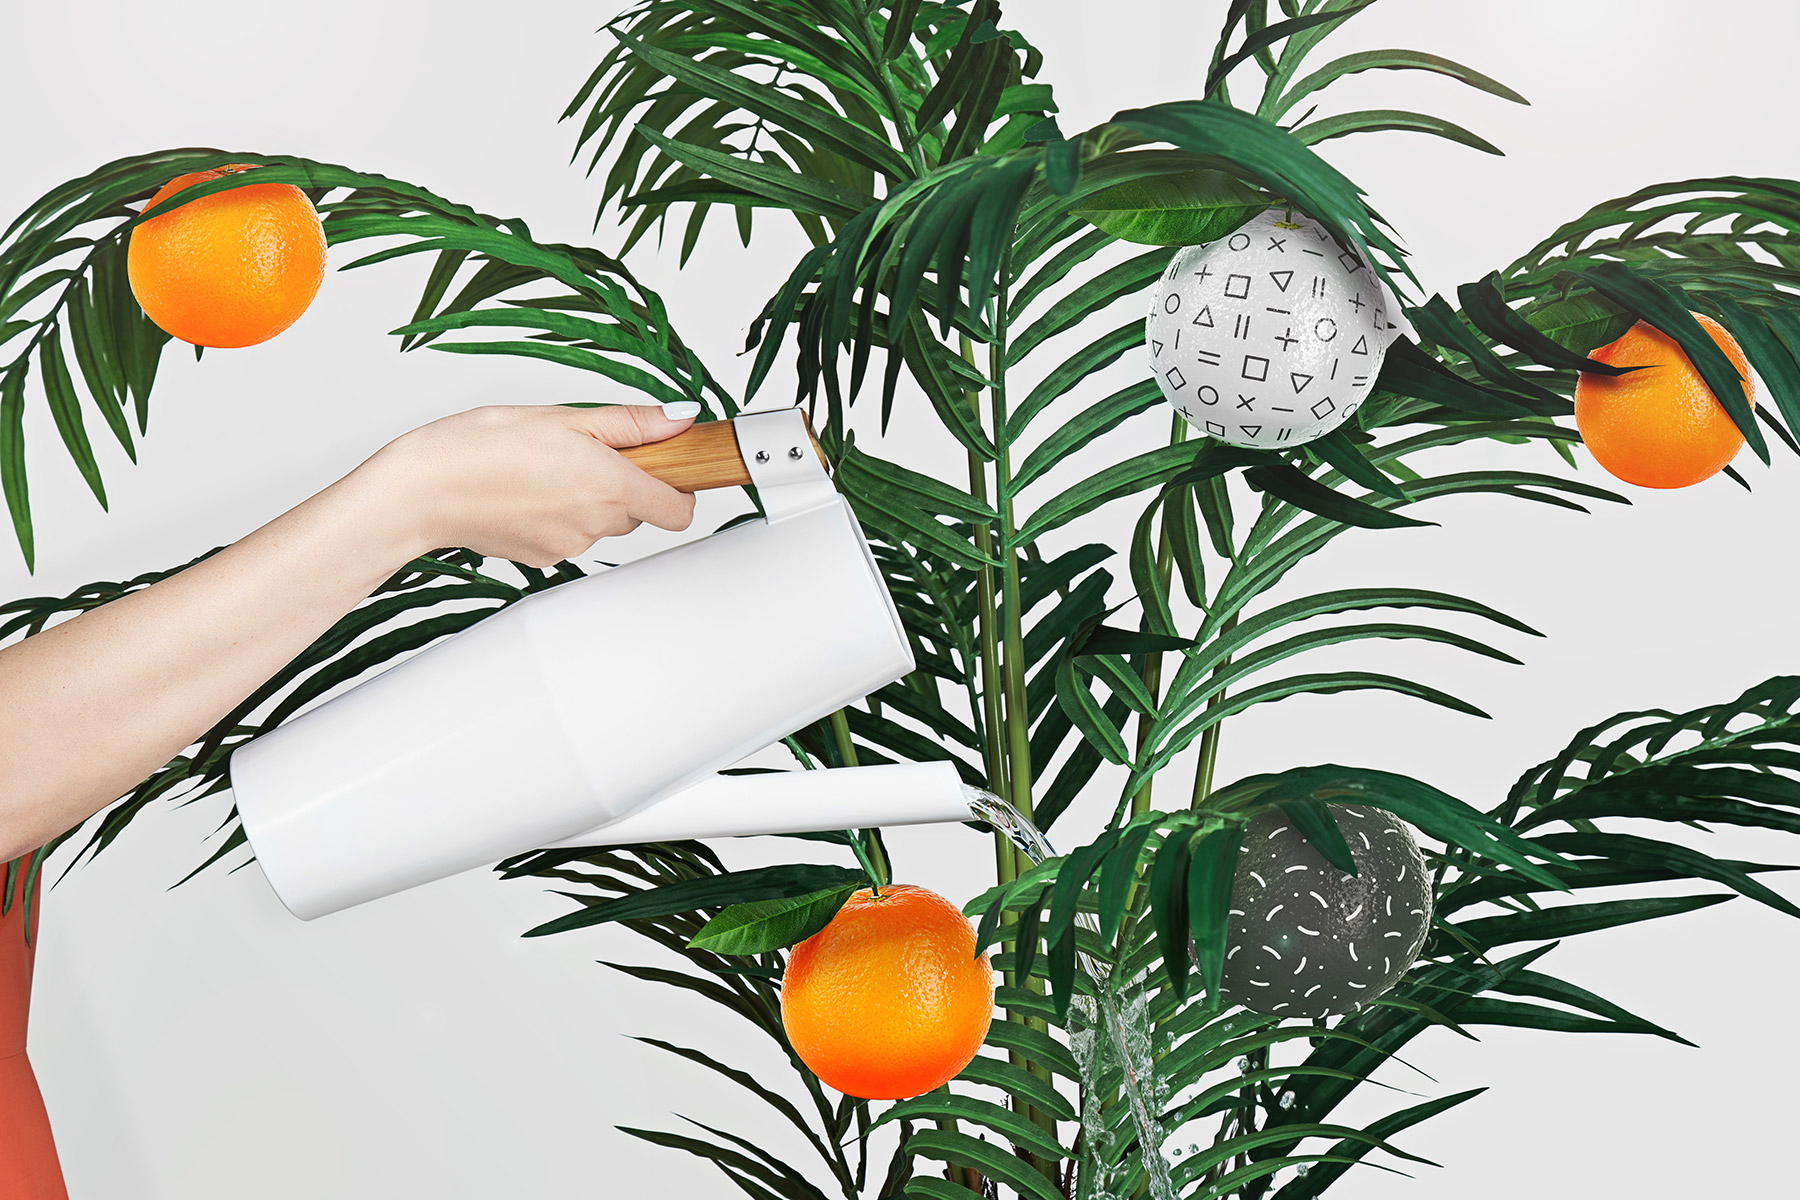
ACT FIVE: THE SHOOT
One day before the shoot, I flew to Washington, D.C. to meet up with Sarah, review the shot list, try on my looks one last time and of course, visited the local grocery store for fresh fruit. #necessities

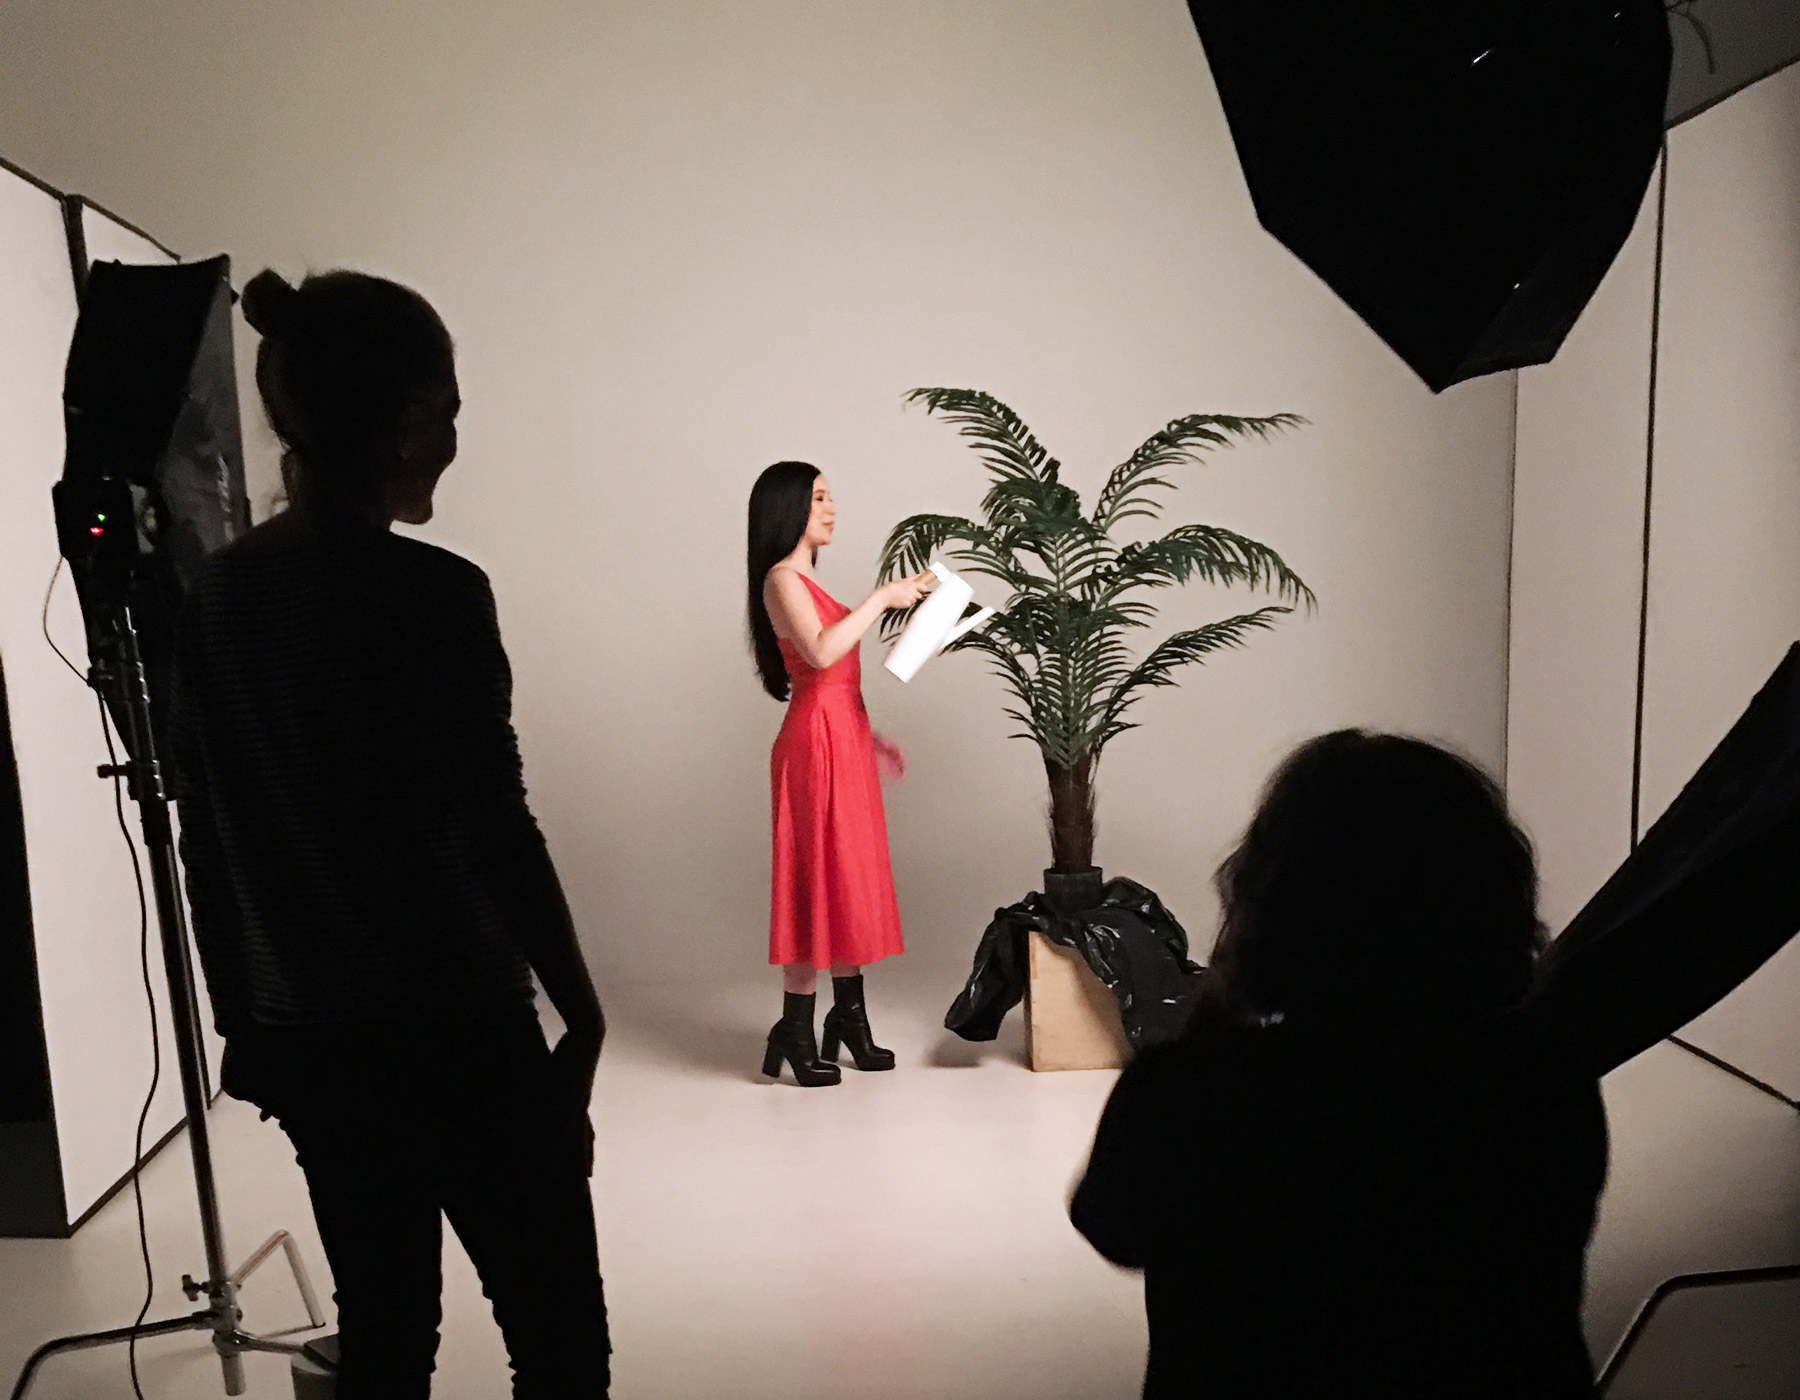
We arrived at the photo studio bright and early where the makeup artist, Rachel got started on my face. Having a professional on-set is recommended because your features can look completely different under bright studio lights. I’m fairly pale so Rachel airbrushed extra contouring onto my cheeks and gave me a warm pop of lip color.
On set, we dug right in with Monica adjusting the lighting between each shot to make sure it was perfect. Sarah was with me all day making adjustments to my clothing, telling me when to amp up a smile, when to align my body in a different way and making sure we stayed on schedule.
The shoot was booked out for a full day and lasted from 9 am until 5 pm and because we had the shot list guiding us, we finished right on time.
All the prep was worth it and I got exactly what I expected, thanks to Monica’s years of expertise behind the camera, Sarah’s detailed planning and Rachel’s makeup skills.

Lesson learned: Plan your shoot dates so that you have a full day to prepare before. Try on your looks one last time, practice getting into character and visualize what you want to accomplish. Drink plenty of water and get a good night’s sleep….because the day flies by and you’ve got to be “on”!
TRUST THE PROCESS
What I’ve learned from this experience is that the perfect creative idea doesn’t just transpire. Sometimes you’re too close to your own brand to see its full potential and creating a collaborative process will only increase the chances of a positive outcome.

When you see photos you like, they probably didn’t happen by accident — what happens before the shoot informs the outcome and prepping with a pro makes perfect.
Now that we’ve gotten the concept process out of the way, the second installment of this series will cover what happens after the shoot (there’s still more work to be done than you think!) and what you should work on while you’re waiting for the photos to be delivered.
Thanks for reading and let me know if you have any questions in the comments! -Shauna

Special thanks to Public Persona, Monica True and Rachel Lane, the ultimate dream team!
