As a business owner, your processes are just as important as the outward-facing content you share with the world.

Processes keep your business running smoothly behind the scenes on a daily basis, yet creating a guide that functioned well and explained our methods to new clients has been a five year process full of trial and error.
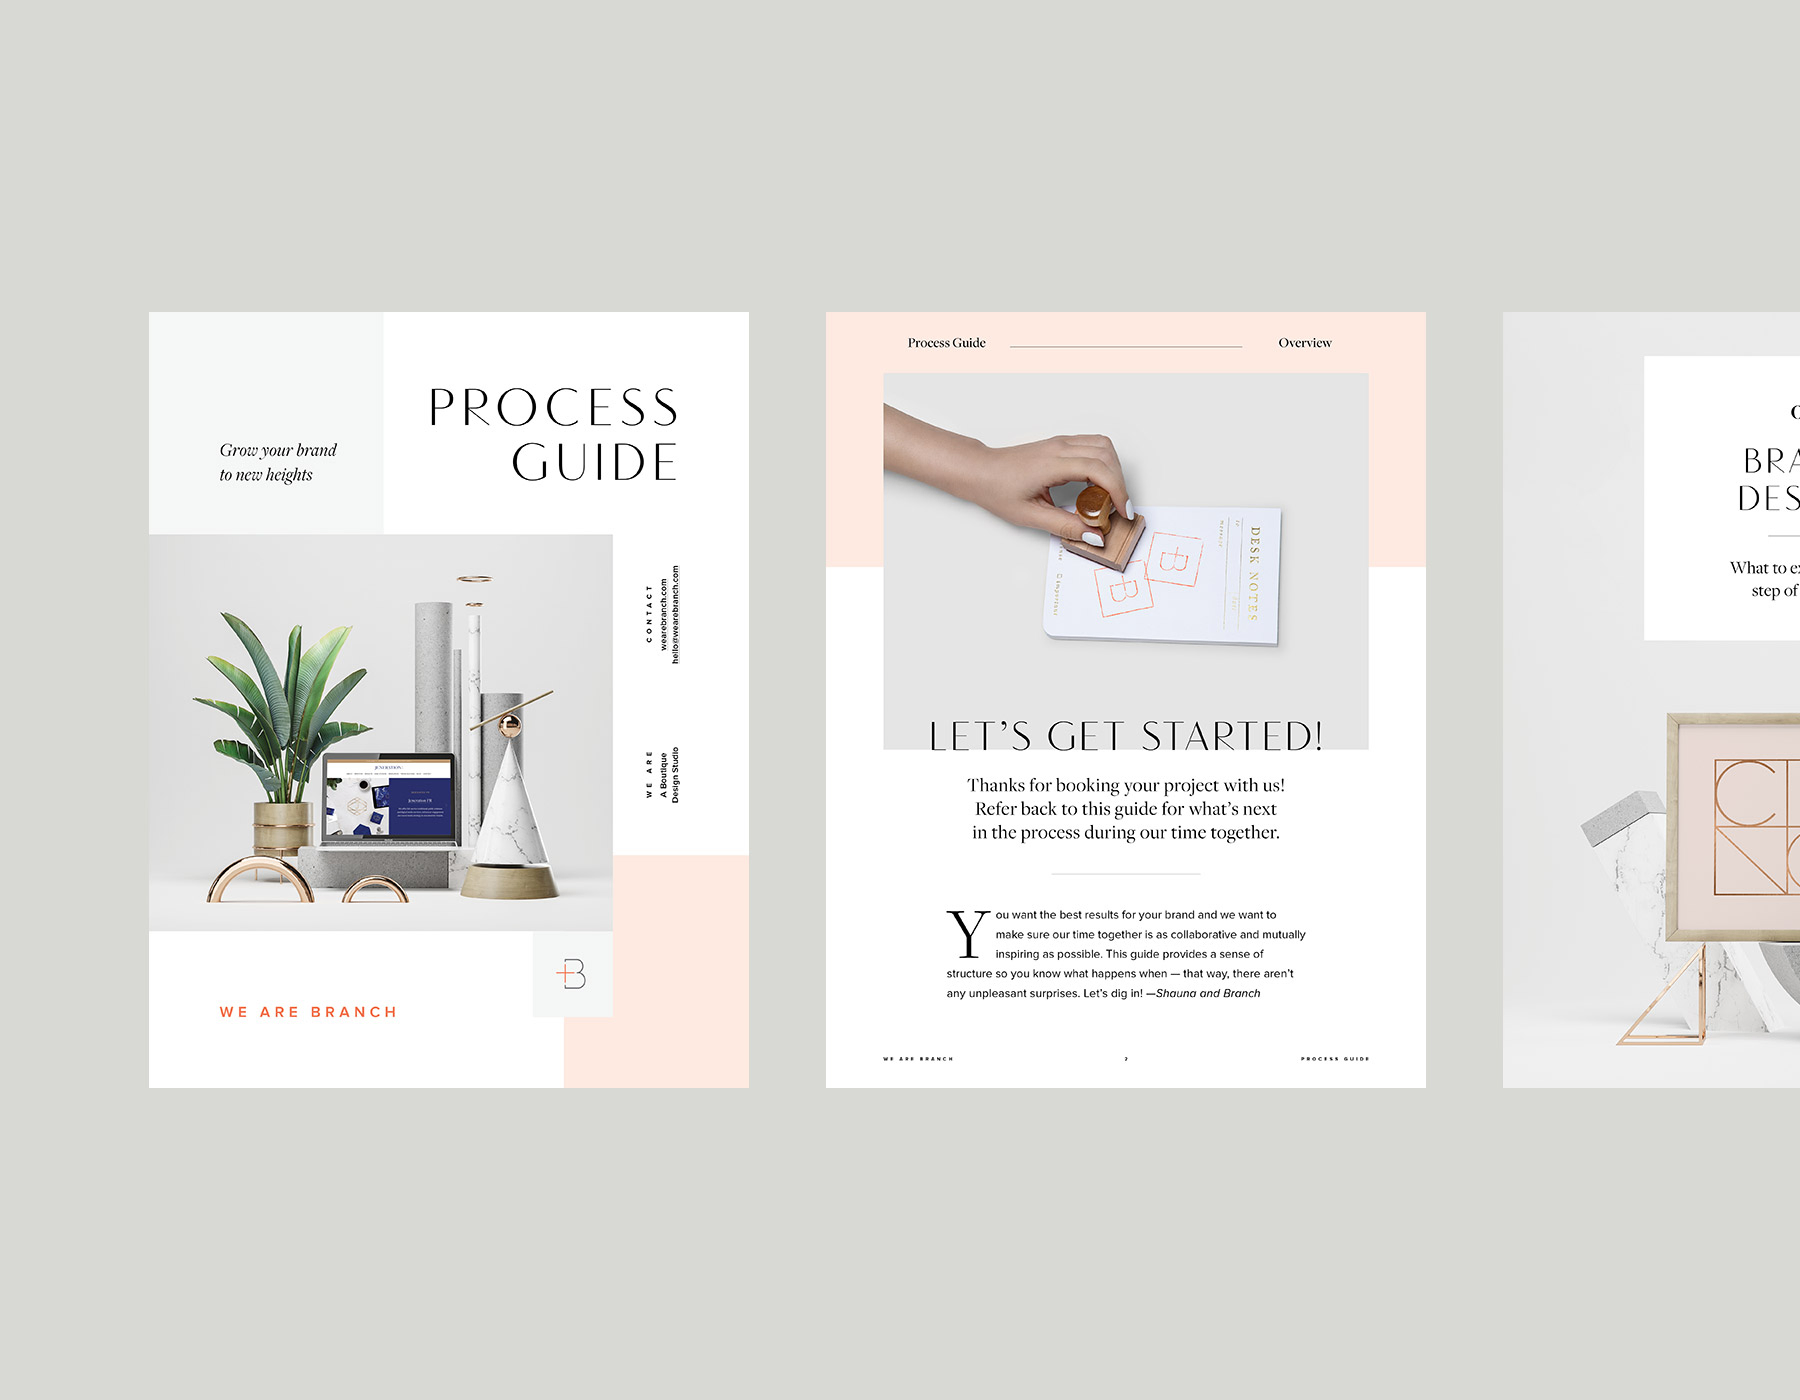
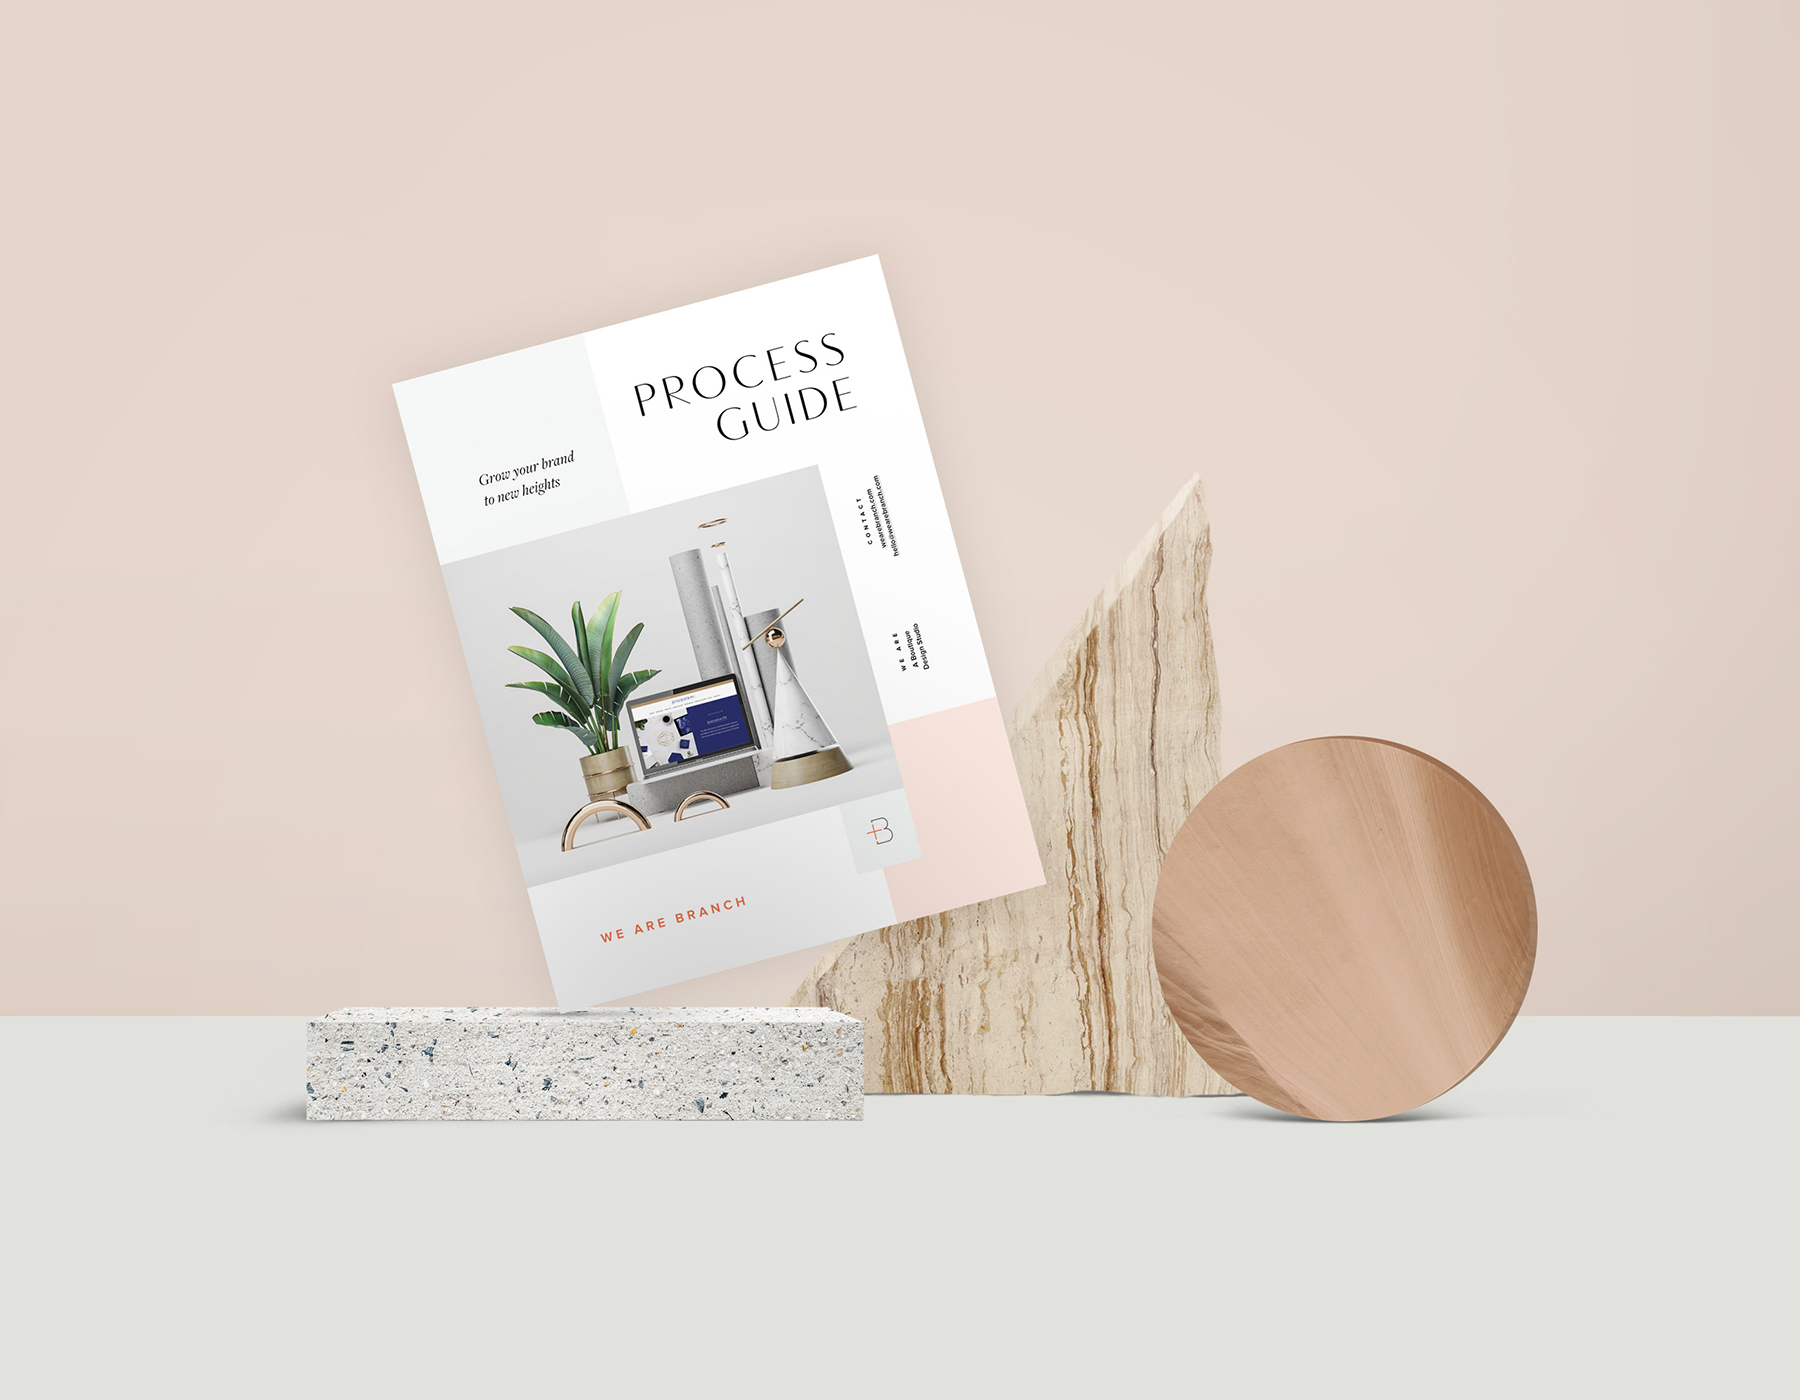
A few years back, after many of the same process questions kept popping up with new clients, I created a PDF document that explained the steps a typical project would undergo. Note that I prefer a web-friendly PDF so it can be emailed along with an intro message when a client books in but you can also provide this content on sub-page of your website — it’s all about using the format that works best for you.
While we went over the general project process in detail on an intro call, there were a lot of important details I felt could get lost in the mix. By providing a guide for the client as they booked in, they would have the full project process at their fingertips to refer back to as needed.
Even though we personally lead a client through each step of the process as a project progresses, the guide provides a sense of comfort, reminding them that there’s a reason for every step we do to get the results they’re seeking.

If you’re thinking of creating a process guide of your own, here are some tips I learned during the (many) revisions of ours:
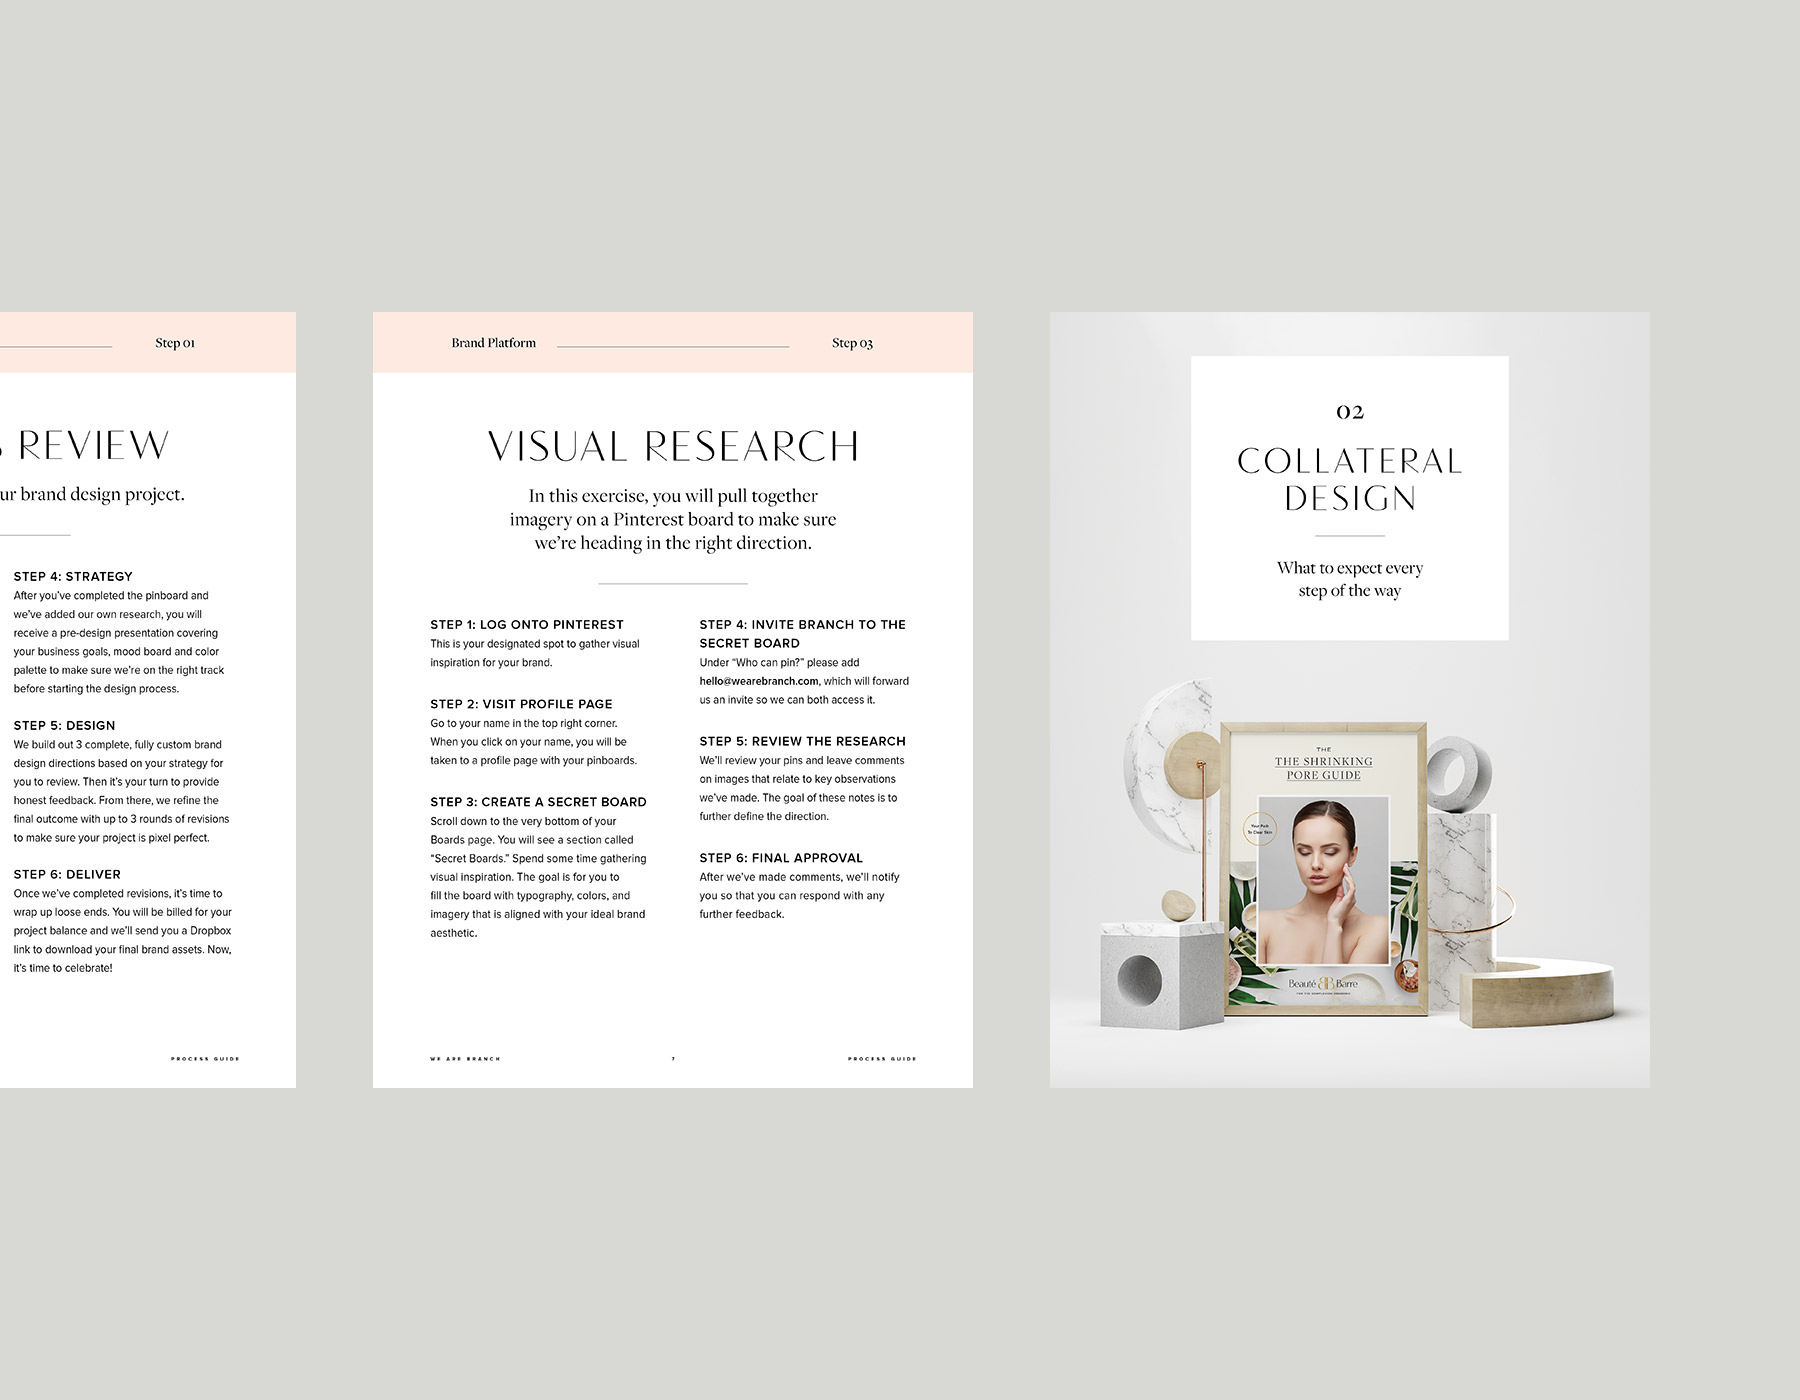
1. An all-in-one document makes the most sense. Back when I created our first guide years ago, I had our 3 most popular services (branding, web design and print collateral) broken into 3 separate guides. This didn’t work well because often, a client will book in for more than one service or, at the very least, if they only book in for branding, they often come back soon after for additional add-ons like a website. By giving them the full process upfront, they’re more comfortable booking in for a service they’re less familiar with.
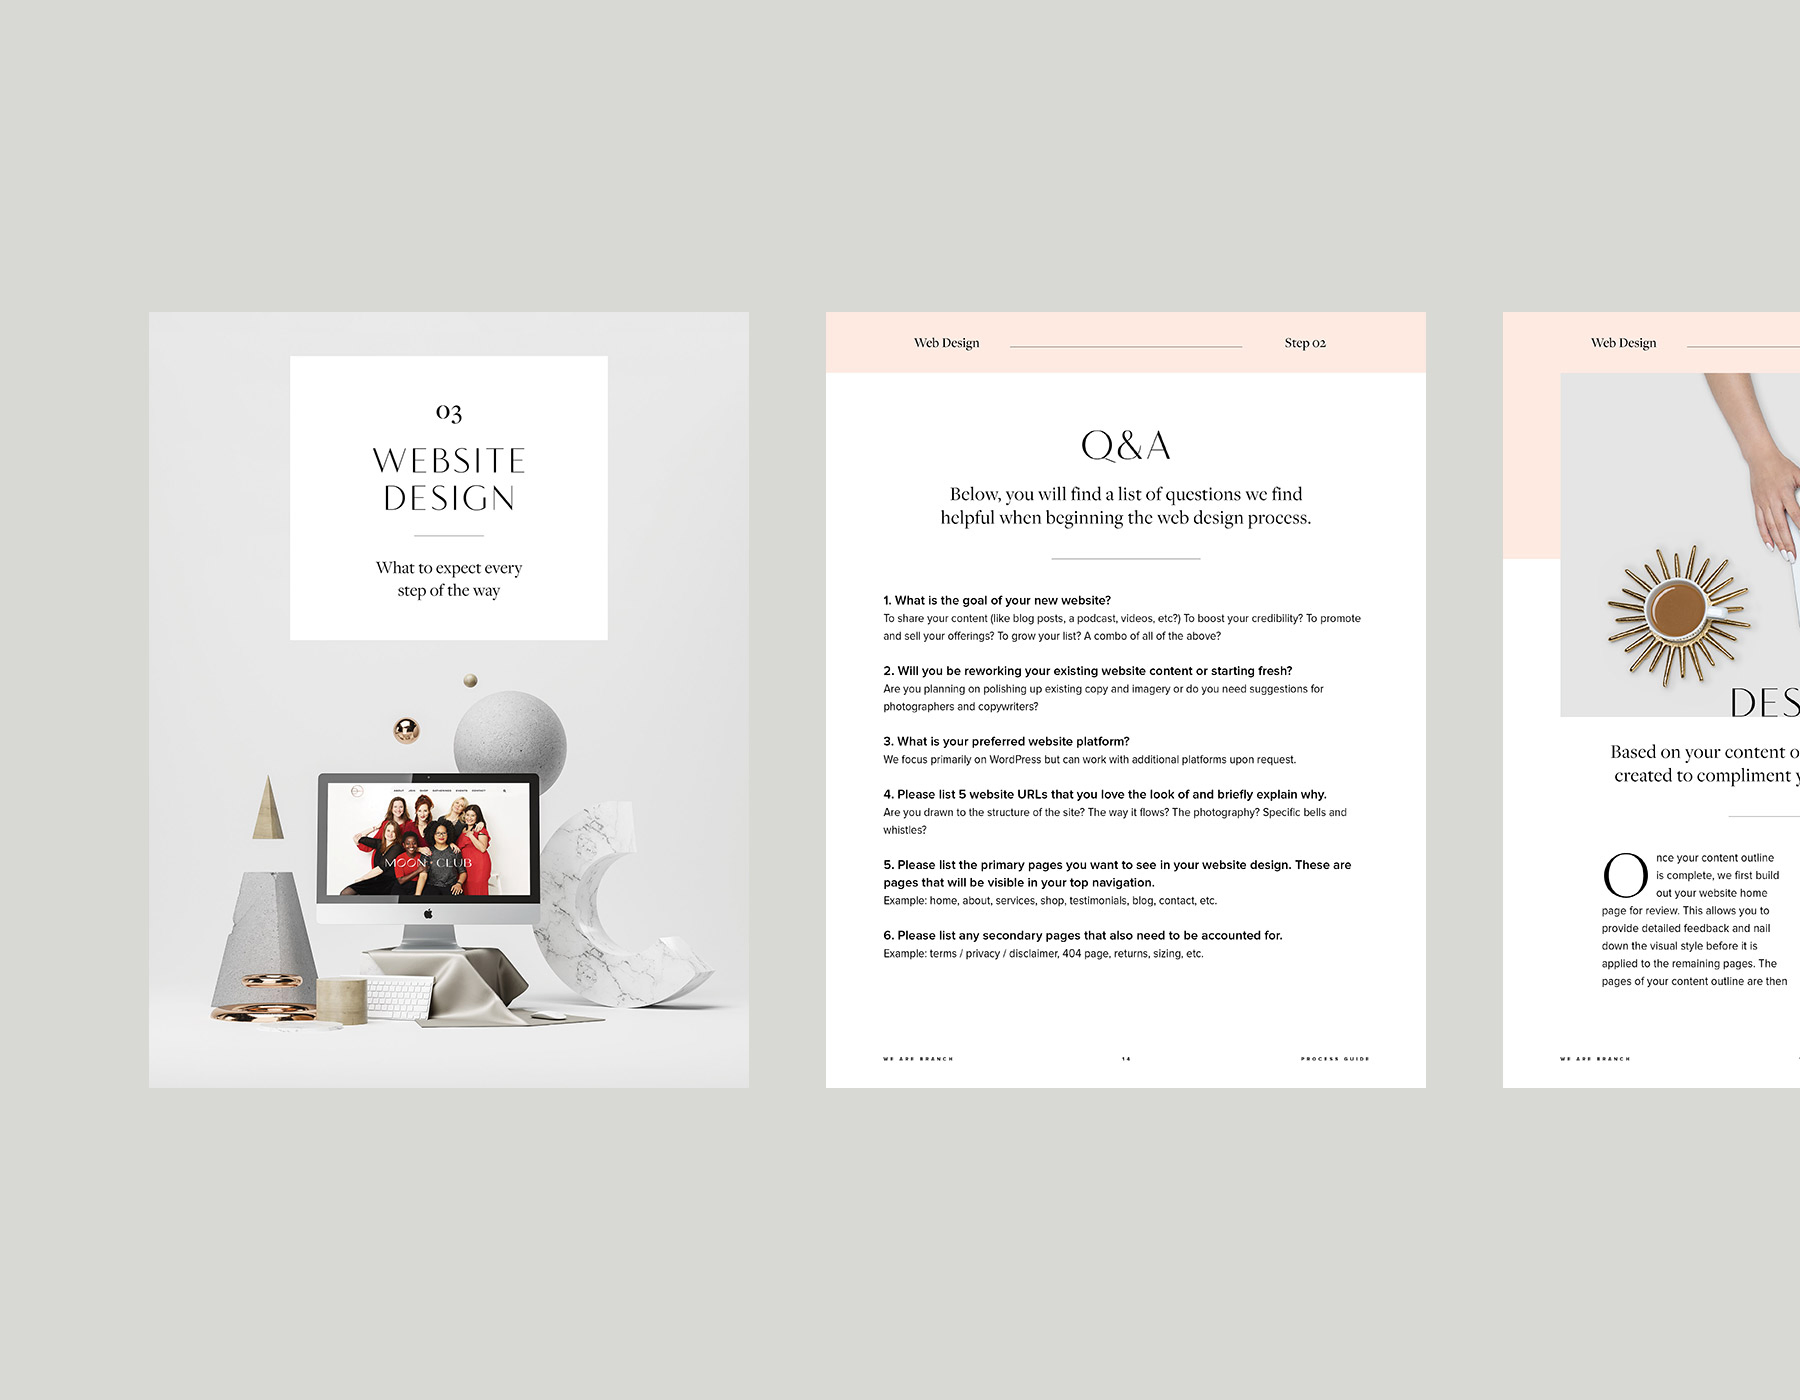
2. Every business’ process guide will be completely different. Because of the way our packages work, there are 3 phases outlined in the guide. These build on each other in a specific order. The first phase is always branding since this is the entry point to working with us. The second (optional) phase is print and social collateral and finally, the third (optional) phase is web design.

3. Explaining your processes is only half of the equation. In the back of the guide, there’s also an outline on how to provide helpful feedback. Most of your clients probably haven’t worked with a professional designer before so taking the time to explain the kind of feedback you prefer ensures the best results.
4. Keep the page layouts simple. Because this guide is meant to be informational, one to two text columns, uniform page titles and occasional images to break up the content serve the purpose well.
5. If you offer more than one service, there may be some overlap in processes. Including divider pages creates a clear stopping point.

Process guides are completely optional but one added bonus I’ve found from creating ours is that by taking the time to review the way we work in detail, I’ve noticed areas that can be refined even further. There’s nothing more eye-opening than putting your process in writing — are your explanations easy to understand? Are the steps logical? Is there a clear outcome?
One final note — while the processes in this guide have been refined over the last 5 years of hands-on client work at Branch, many of the key elements are based on The Project Prescription, a set of design process documents I collaborated with Paul Jarvis on. If you’re not sure where to start with your studio process, these can give you a firm foundation build from, providing an outline of general content to include.
Thanks for reading and let me know if you have any process guide questions below! -Shauna


