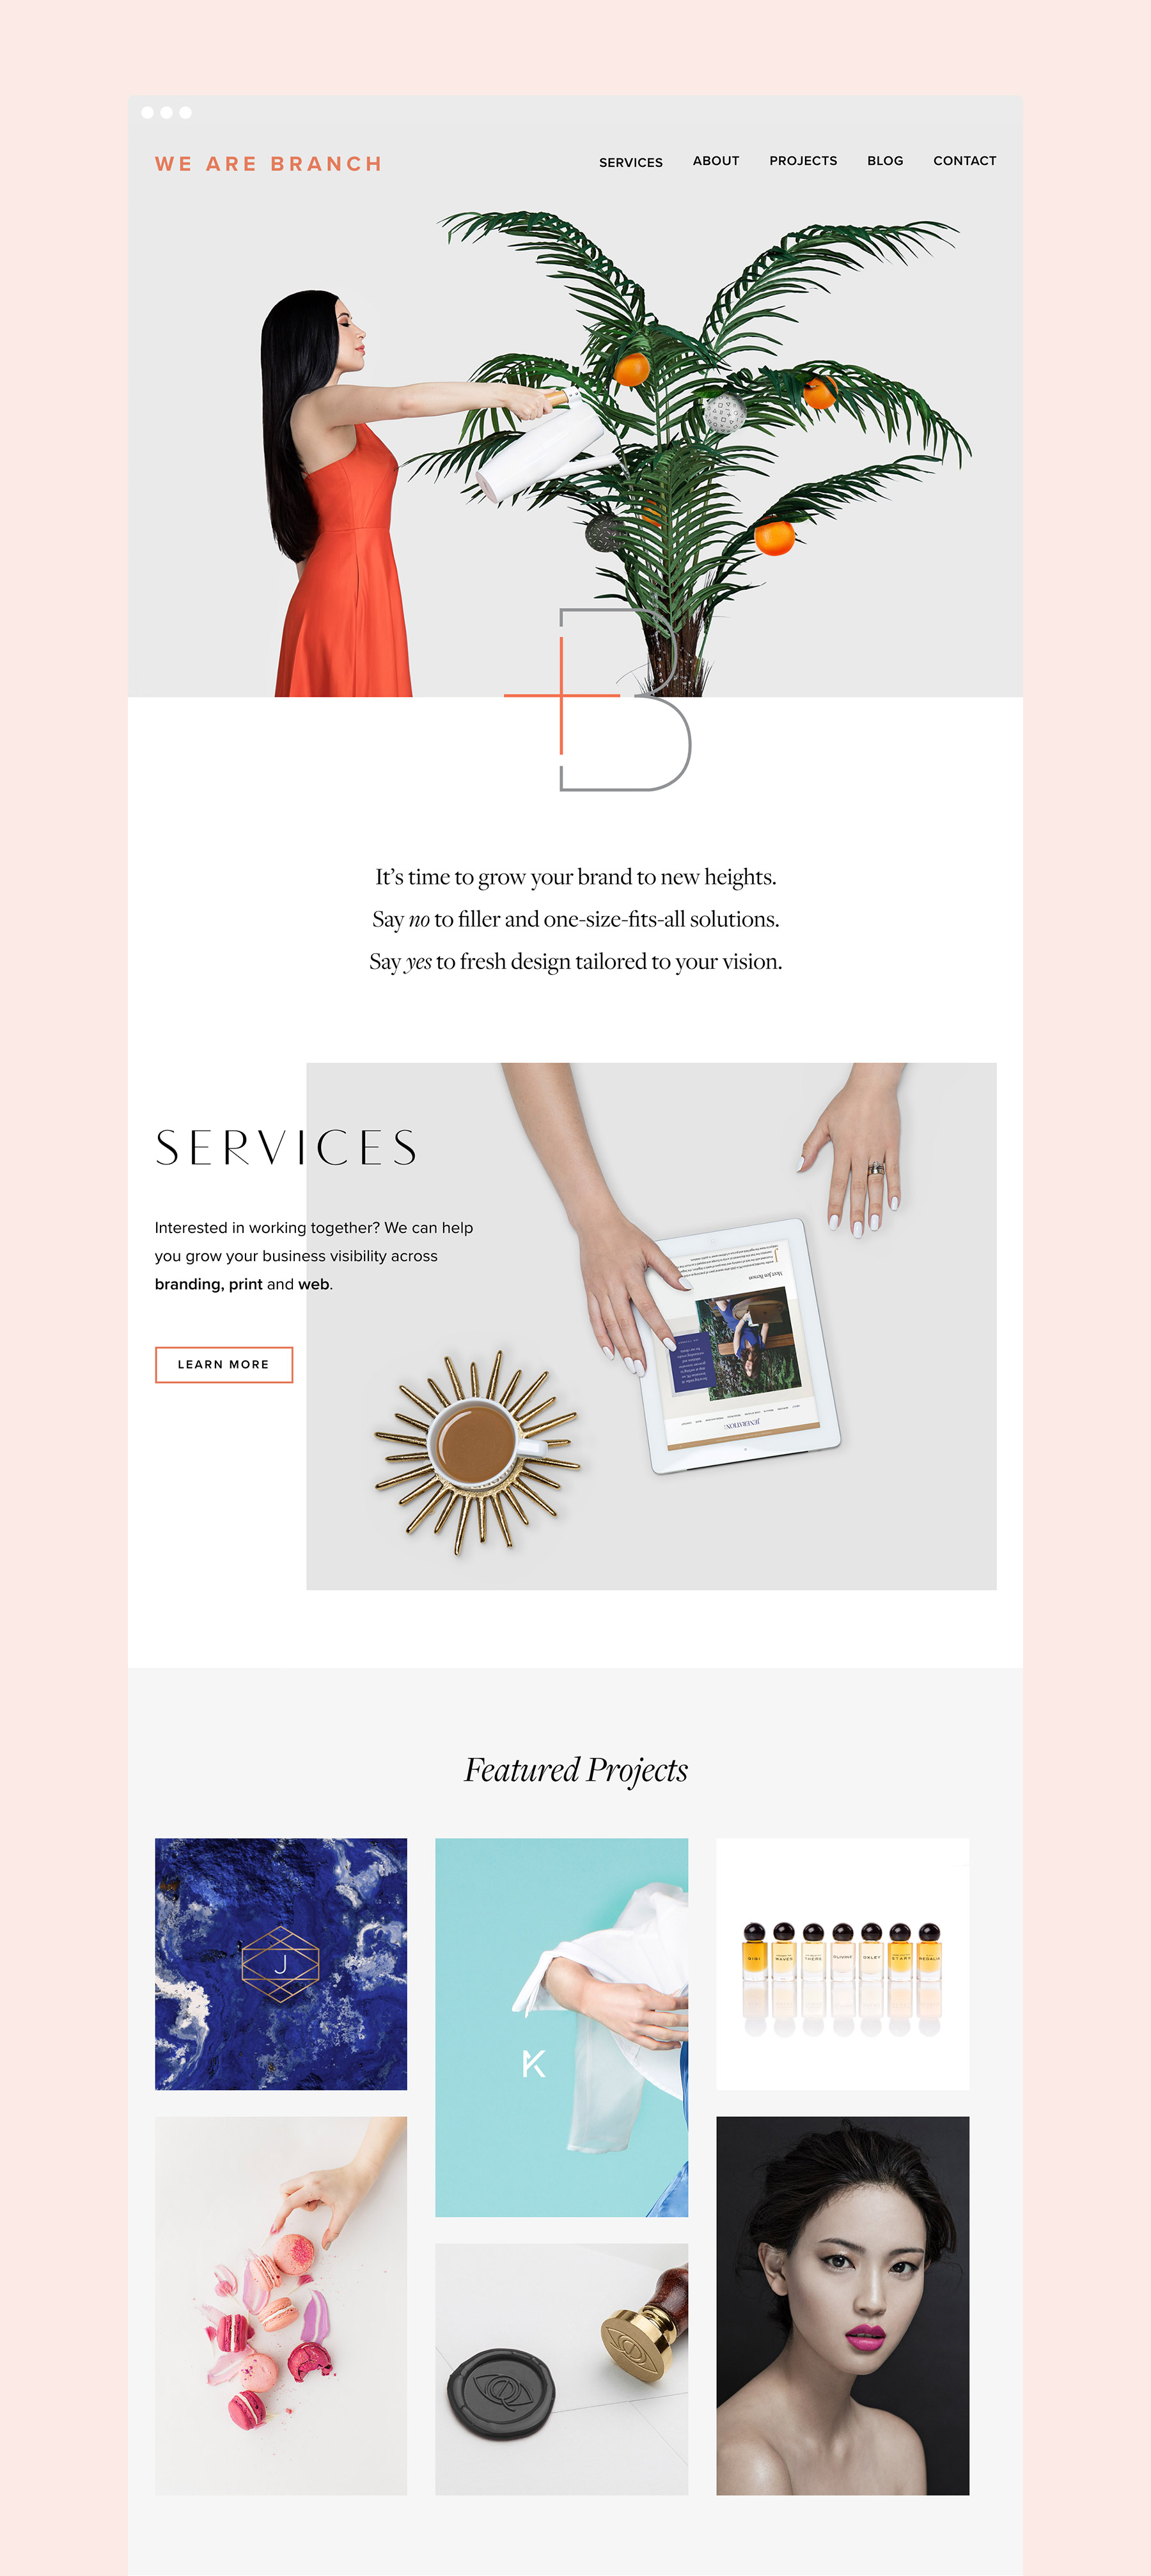
Let’s talk about your website!
Once you have your branding, photography and copy wrapped up and polished, it’s time to merge these three content buckets together to craft a new digital home for your business.
Websites can seem daunting until you think of them in more simple terms as a container to hold your content. Just like a house with multiple rooms, a website functions in a similar way. Once you walk through the front door (home page), each room (page) serves a unique purpose.
Websites are hugely reliant on the quality of your content. If your branding, copy and images are strong, you’ll have a firm foundation to build your site from. If any of these content buckets is lackluster, your site will suffer.
Building a website is just like any other project — the more clear your process is, the easier it is to stay on track and reach your goals.

ACT 1: MUST-HAVE PAGES
Before digging into the design details, zoom out and think about what pages you actually need on your website, along with the naming conventions you prefer in the navigation. Furthermore, what can be combined and what can be eliminated?
As a baseline, a basic site typically includes a combination of the following: home, about, services, shop, testimonials, blog, contact and privacy policy.

ACT 2: TARGET AUDIENCE
Another important pre-design step is thinking in-depth about your ideal audience. Who are you trying to reach? A big mistake creative businesses often make is designing a site that appeals to their direct competitors instead of their target audience!
Remember, this exercise isn’t about impressing your competitors with fancy bells and whistles, it’s about creating an online home that makes your target audience feel welcome and able to quickly find the information they need. If your site takes forever to load, is difficult to navigate and doesn’t have an intuitive flow, it doesn’t matter how great your content is — people won’t stick around. When in doubt, keep it simple!

ACT 3: WEB INSPIRATION
Getting a feel for how your site should look and function before you start the design process will save you a ton of time once you dig in. I recommend making a list of 10 websites you absolutely love — and no, they don’t need to be within your industry. The more well-rounded your inspiration sources are, the better. After all, there’s no point in looking the same as your competitors; this is the time to promote what makes you unique in your industry and stand out.
Three places to look for fresh web inspiration include Mindsparkle Mag, Typewolf and Web Creme.

ACT 4: HOME PAGE WIREFRAMING
Grab a pen and paper and start sketching out your home page. What are the absolute content must-haves? Do you need a spot for recent blog posts? A mailing list? A bold call to action? An Instagram feed? I tend to do a few quick pencil sketches to get the flow right, thinking of each section as a modular piece that can flow up or down until the right balance is reached. Doing this in an analog format keeps you from tripping up over the design details — this isn’t the time to focus on beauty, it’s all about the functionality.


ACT 5: HOME PAGE DESIGN
Finally, it’s time to make your wireframe come to life! Once the wireframe for the home page is done, this is the time to start adding in your content including branding, imagery and copy, i.e. the “secret sauce” that sets the tone for what you do.
For this site, I first dropped in the final images from my shoot. Because of my earlier work on the shot list, I had a general idea of what should go where. This may be unpopular and uncommon but I use InDesign for the wireframing step so I can quickly shift around images, drop colors, duplicate layouts and experiment like crazy until the variations click and feel just right. Often, I’ll end up with 10 variations of the home page wireframe, which I’m then able to scroll back through to determine which visually feels the strongest.

ACT 6: FULL SITE DESIGN
The home page always takes the longest because it’s the visual anchor for the rest of the site. Once the styling is set, I then move onto the rest of the page layouts, continually refining while thinking back to the target audience I’m trying to reach.
Once the design is complete, I prep the web-ready assets for each page and hand off the content to a trusted developer who codes the new site up for WordPress.
In my experience, the hand-off leaves another large gap of waiting time open which is ideal for updating the portfolio of client projects — use that downtime wisely!
Following the initial site review on a dedicated test site, it’s good to allot for two more rounds of revisions to get it perfect before going live.
The website phase of a project is always the most time intensive — between research, wiwreframing, design and development, make sure to double the time you think you’ll need to allow for plenty of time to ensure a quality outcome.
I hope this gives you a better idea of what to expect when building a custom website. Thanks for reading and I hope you enjoyed this series!
P.S. In case you missed them, catch part one here and part two here.


